Using Multiple Avatars
This page will show you a sample scene named Using Multiple Avatars. It will break down how to use Avatar definitions.
Here is a list of all the features:
- Four Avatars composed using a locally-stored Avatar definition and a JSON string of an Avatar definition.
- Clicking on an Avatar zooms in on them.
This page will be using version X.Y.Z of the Genies SDK Avatar package, but replace it with the latest package version.
Import the Sample Scene
Import with Bootstrap Wizard
From the top menu, select Tools > Genies > SDK Bootstrap Wizard window. At the bottom, click the Import Sample Scenes button.

Import with Package Manager
From the top menu, select Windows > Package Manager window. Then select Packages: In Project on the top left dropdown and also select the Genies Avatar SDK package on the left side menu.
Click the Samples tab and click the Import button next to the Sample Starter Scenes sample.
![]()
Open the Sample Scene
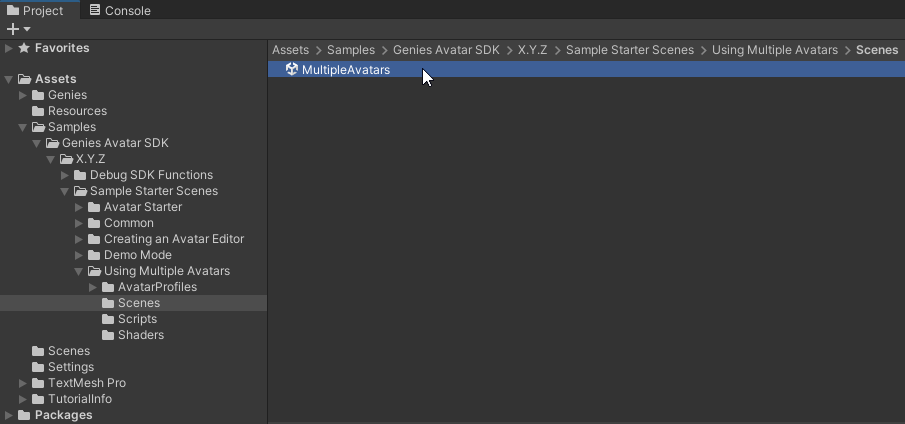
Once the sample is imported, open the MultipleAvatars scene in the Assets > Samples > Genies Avatar SDK > X.Y.Z > Sample Starter Scenes > Using Multiple Avatars > Scenes folder.
Test the Sample Scene
Login Anonymously
Press the Play button. Click the Anonymous Login button.
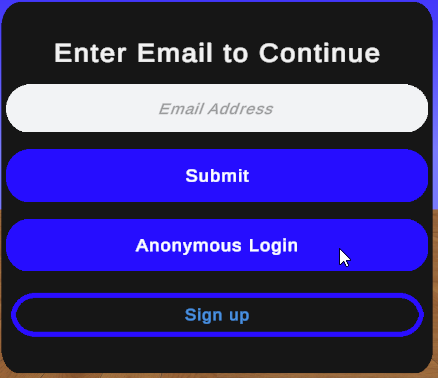
Anonymous login is a feature that allows users to not require a Genies login to use the Genies Avatar SDK.
See the User Login page for more information.
Confirm the Local Avatars Load
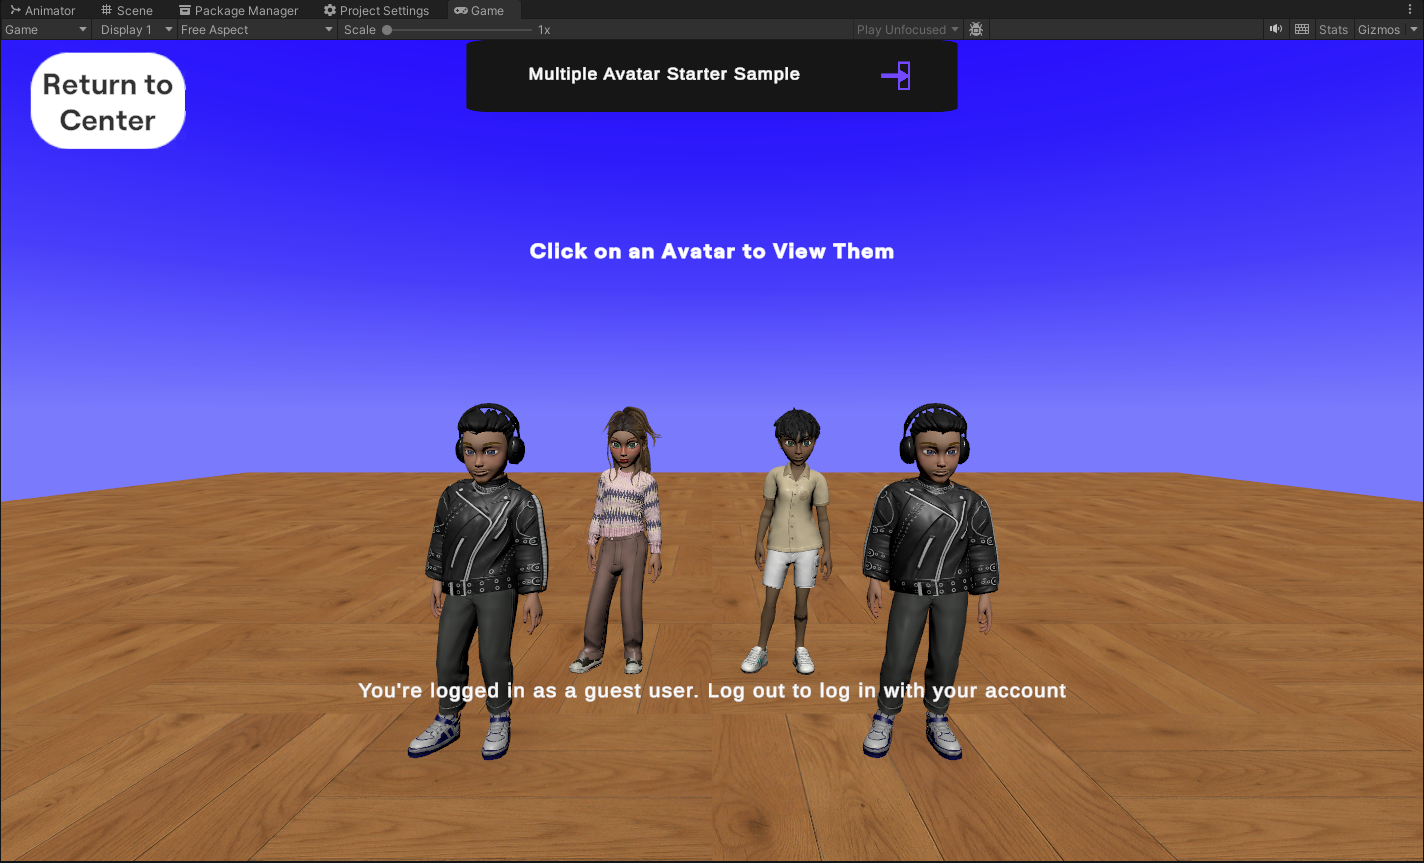
Once signed in, there should be four local Avatars loaded.
![]()
These two front Avatars are loaded using the LoadFromLocalGameObjectAsync function with a specific profile name that matches the name of a scriptable object with the Avatar definition. The two back Avatars are loaded using the LoadAvatarByDefinitionAsync function with a JSON string of an Avatar definition.
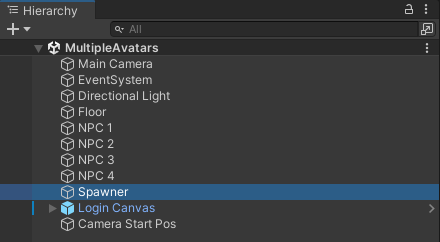
Select the Spawner
Exit Play mode. Select the Spawner object in the Hierarchy window.
Change the Avatar Definition
In the Inspector window, set the Avatar 1 Profile Id property to ExampleProfile2.
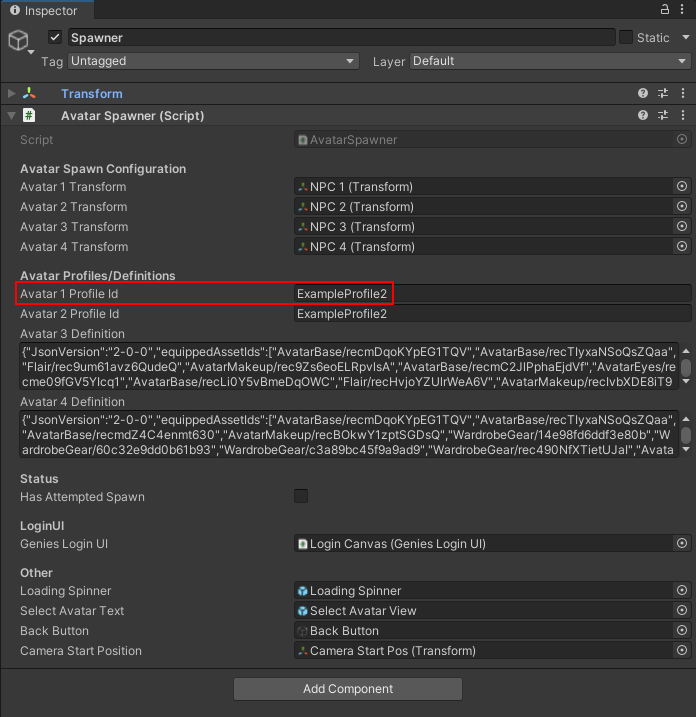
These two example profile objects are in the Assets > Samples > Genies Avatar SDK > X.Y.Z > Sample Starter Scenes > Using Multiple Avatars > AvatarProfiles > Profiles > Resources folder.
Play the Scene
Enter Play mode. The far right Avatar should be loaded with the same definition as the one on the left.
Conclusion
Now that you understand how to load a local Avatar definition, this can be used to store Avatar templates or spawn NPCs with a specific Avatar definition.
Check out the First Project with Avatars tutorial to see how to add an NPC to a project.