Creating Custom Editor
This page will show you a sample scene named Creating an Avatar Editor. It will spawn a test Avatar that can be moved with the mouse and keyboard or virtual joystick and buttons.
Here is a list of all the features:
- Scene with gradient background.
- Login screen that allows users to login anonymously or with their Genies account.
- An example of a custom Avatar Editor UI.
This page will be using version X.Y.Z of the Genies SDK Avatar package, but replace it with the latest package version.
Import the Sample Scene
Import with Bootstrap Wizard
From the top menu, select Tools > Genies > SDK Bootstrap Wizard window. At the bottom, click the Import Sample Scenes button.

Import with Package Manager
From the top menu, select Windows > Package Manager window. Then select Packages: In Project on the top left dropdown and also select the Genies Avatar SDK package on the left side menu.
Click the Samples tab and click the Import button next to the Sample Starter Scenes sample.
![]()
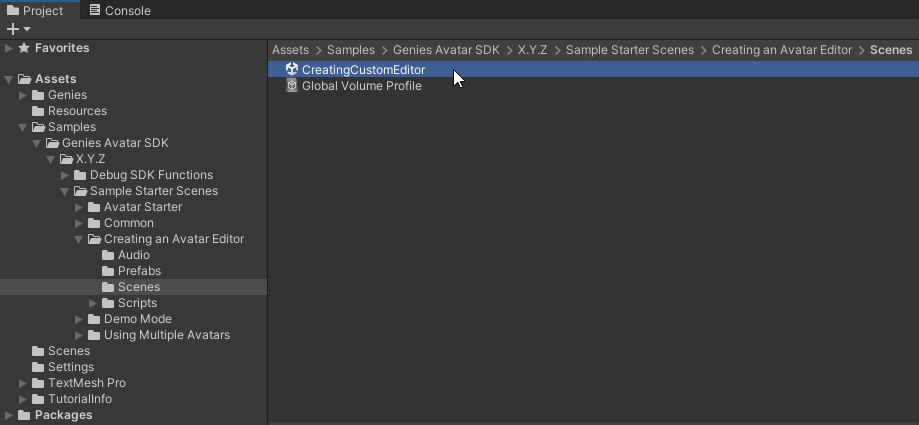
Open the Sample Scene
In your Project window, open the Assets > Samples > Genies Avatar SDK > X.Y.Z > Sample Starter Scenes > Creating an Avatar Editor > Scenes folder. Double-click the CreatingCustomEditor scene to open it.
Test the Sample Scene
Log In Anonymously
Press the Play button. Click the Anonymous Login button.
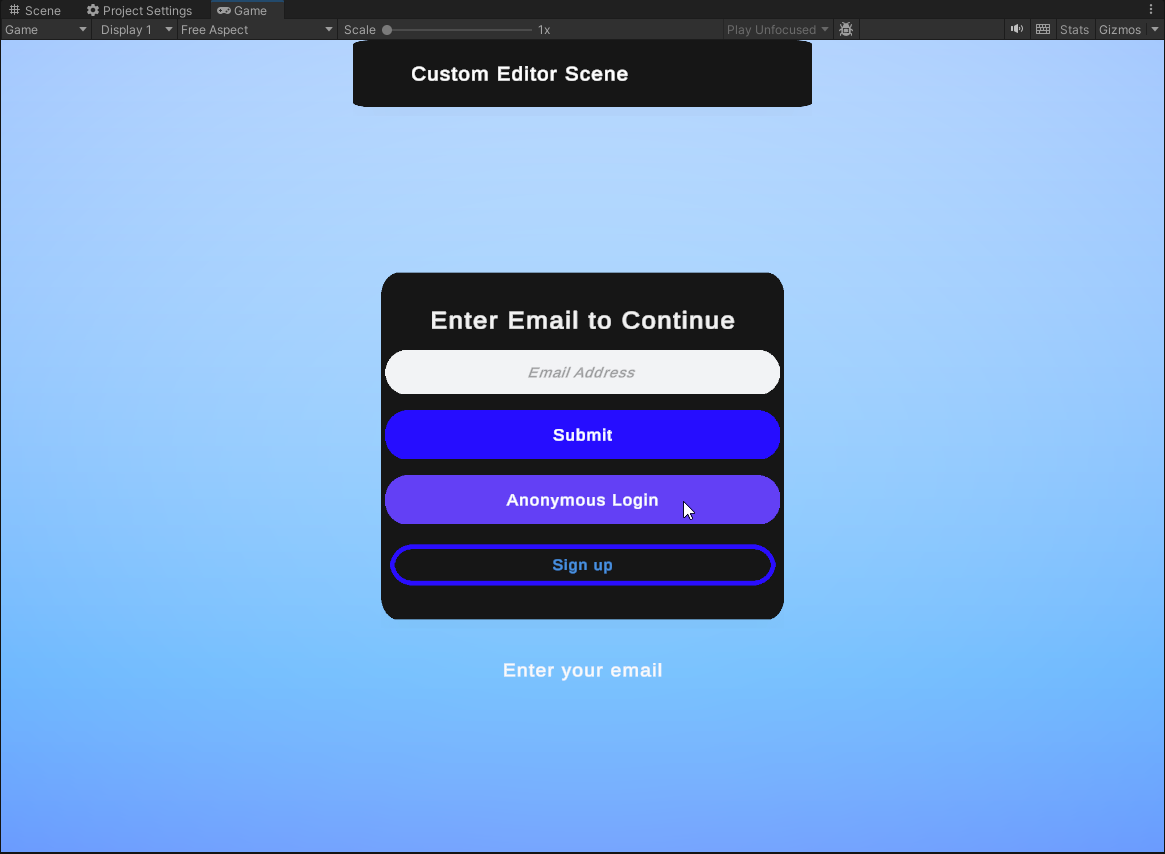
Test the Custom Editor
Once logged in, the custom editor should display with the loaded Avatar. Test the buttons to edit the Avatar.
![]()
Conclusion
This is just an example of how the Avatar Editor APIs can be used to create your own Avatar Editor. It's recommended to look into the scripts and components in this scene to understand how to make your own.
Check out the APIs in the Avatar Editor framework page.