MegaStylizer Tutorial
This tutorial will create a simple demonstration of an Experience using the MegaStylizer tools.
The following topics will be covered:
- Importing external art assets
- Applying the MegaStylizer shader to materials
- Using the MegaStylizer Property Transfer tool
Create a New Scene
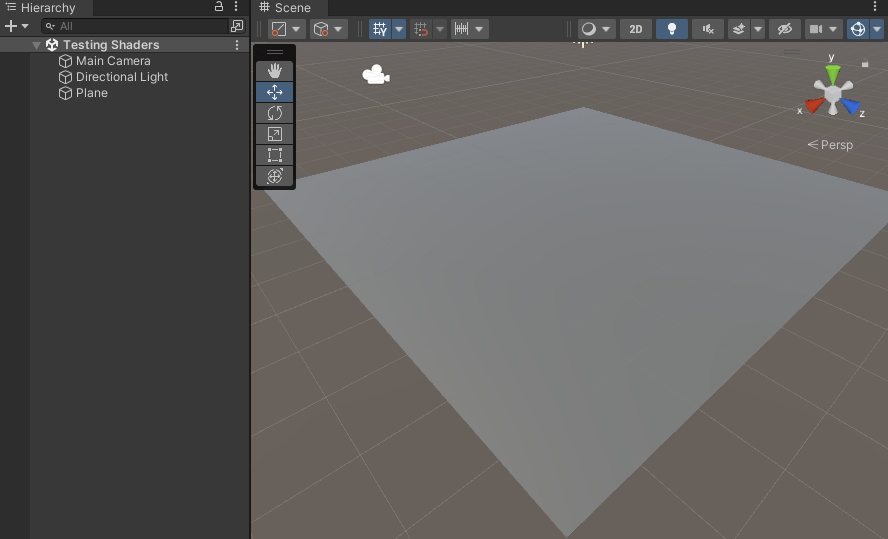
Open a Unity project with the Genies SDK and create a new scene. Add a 3D Plane to the scene.
Follow the Getting Started tutorial to learn how to create a new project with the Genies SDK.
Import a Mixamo Character Asset
Mixamo is a great resource for free 3D characters and animations.
Create a New Folder
In the Assets > Experience folder, create a new folder named External Assets. Then create a new folder within the External Assets folder named Mixamo Character.
Log into Mixamo
You will need an Adobe account to access Mixamo's free assets.
If needed, create an account and then log in to the Mixamo website: https://www.mixamo.com/#/
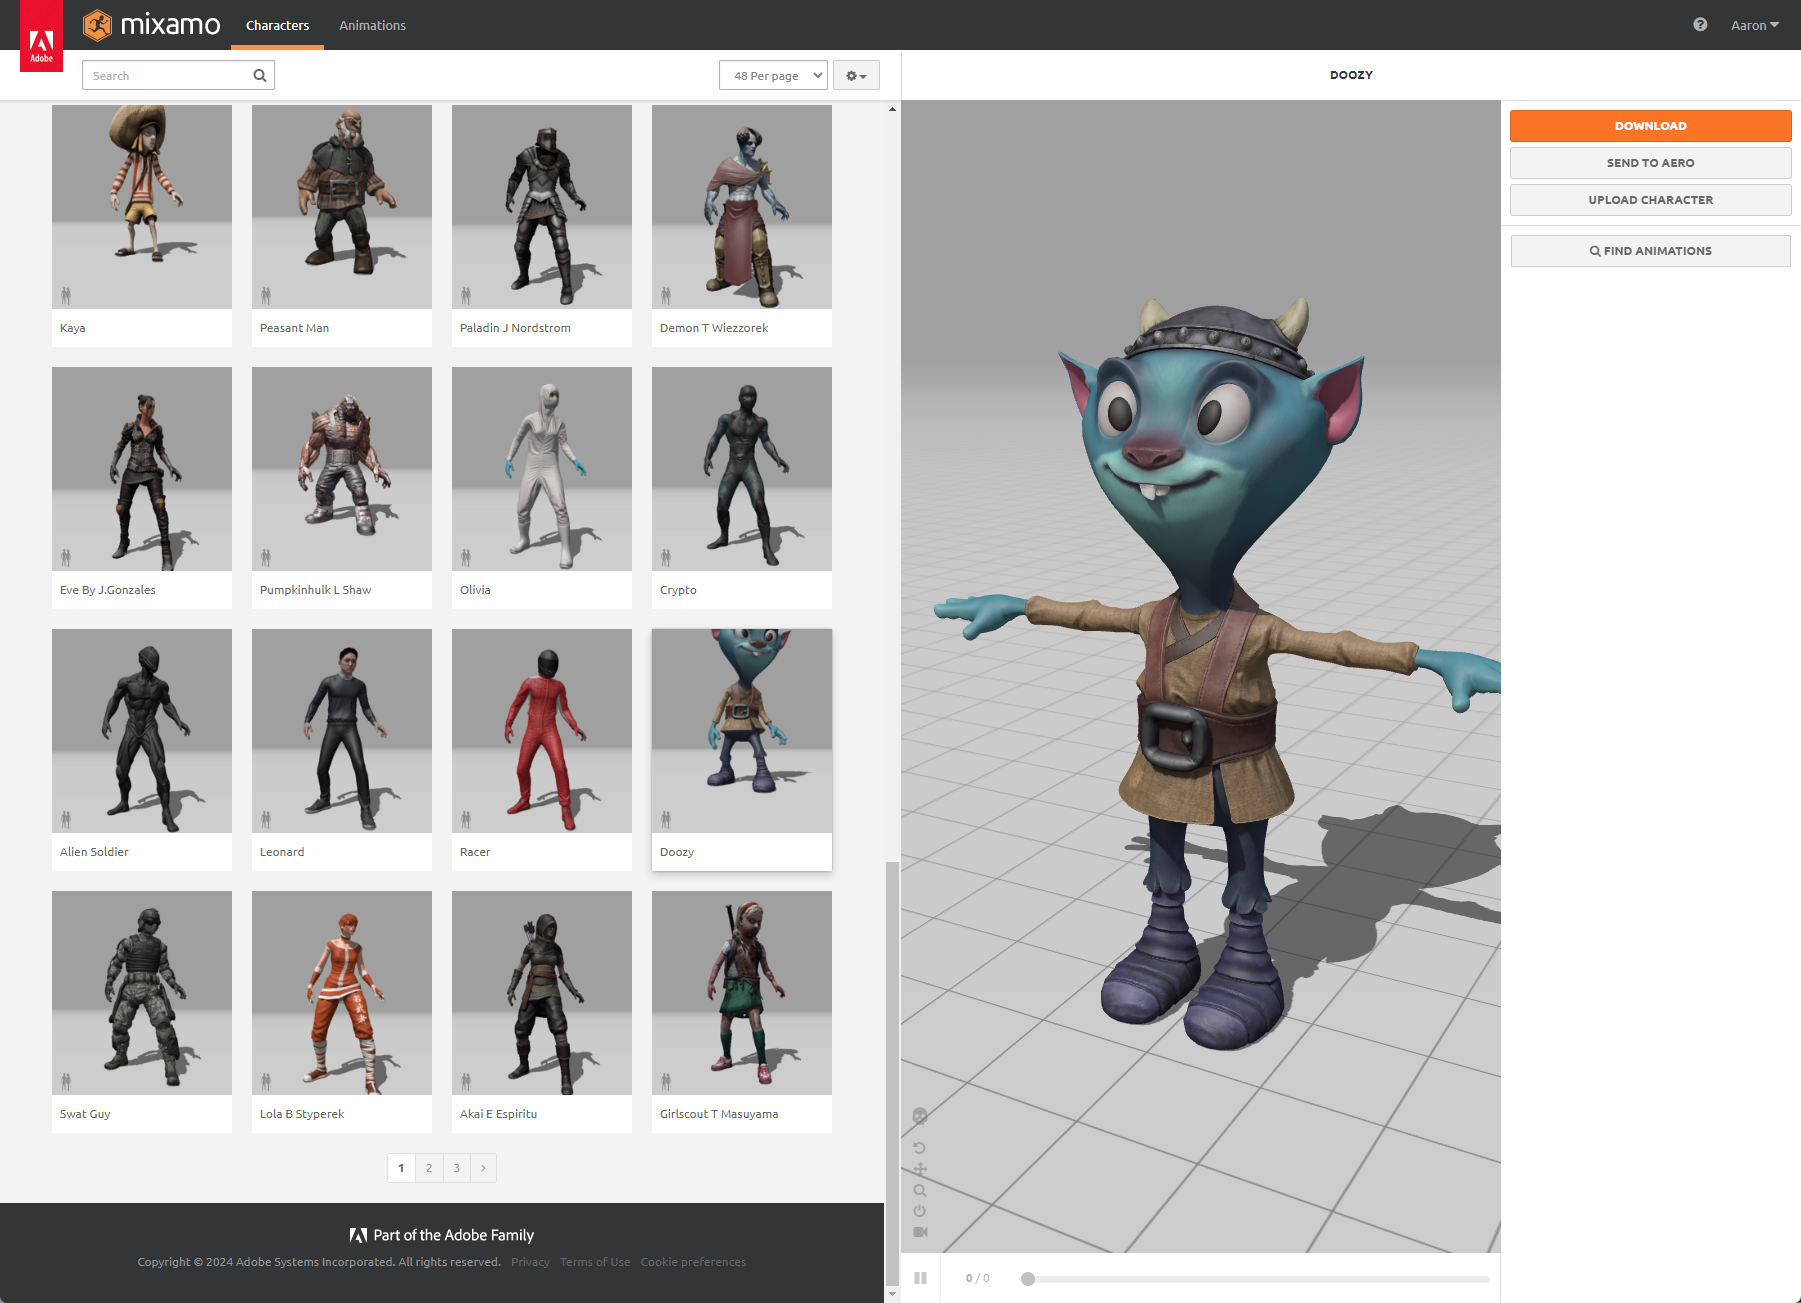
Download a Mixamo Character
Find a character from the Mixamo website: https://www.mixamo.com/#/?page=1&type=Character
Click the Download button. Download the model as a FBX file in the T-pose.
Import the FBX
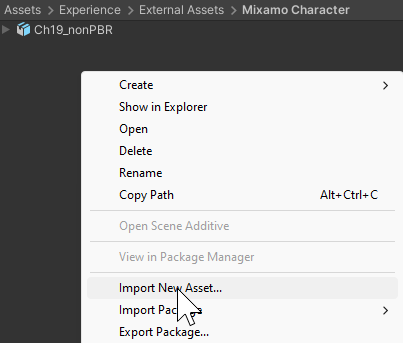
Back in Unity, right click anywhere in the Project window while inside the Assets > Experience > External Assets > Mixamo Character folder. Select the Import New Asset... option and choose the FBX file you just downloaded.
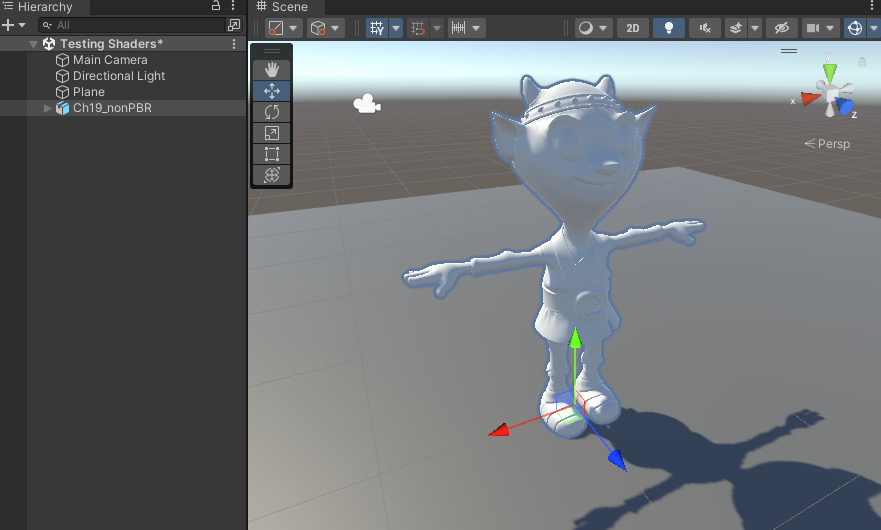
Drag into the Scene
Drag the imported FBX file into the scene. The materials should not be appearing correctly.
Fix the Materials
Click the FBX file in the Project window and open the Inspector window. Go to the Materials section and set the Location property to Use External Materials (Legacy). Then click Apply.
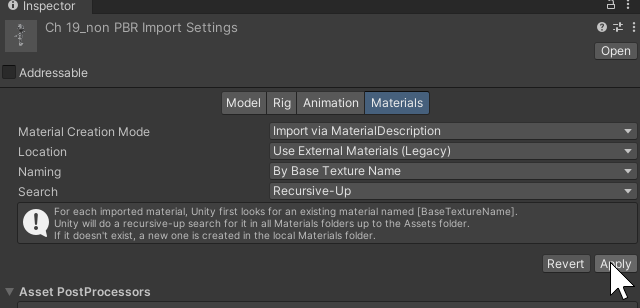
If a dialogue box pops up prompting to fix any errors, then click the Fix now button.
Test the Project
The materials should now be appearing correctly.

Import a Unity Asset
The Unity Asset Store has a plethora of free assets that can easily be added to projects.
Log into Unity
Log in to the Unity Asset Store website with your Unity account: https://assetstore.unity.com/
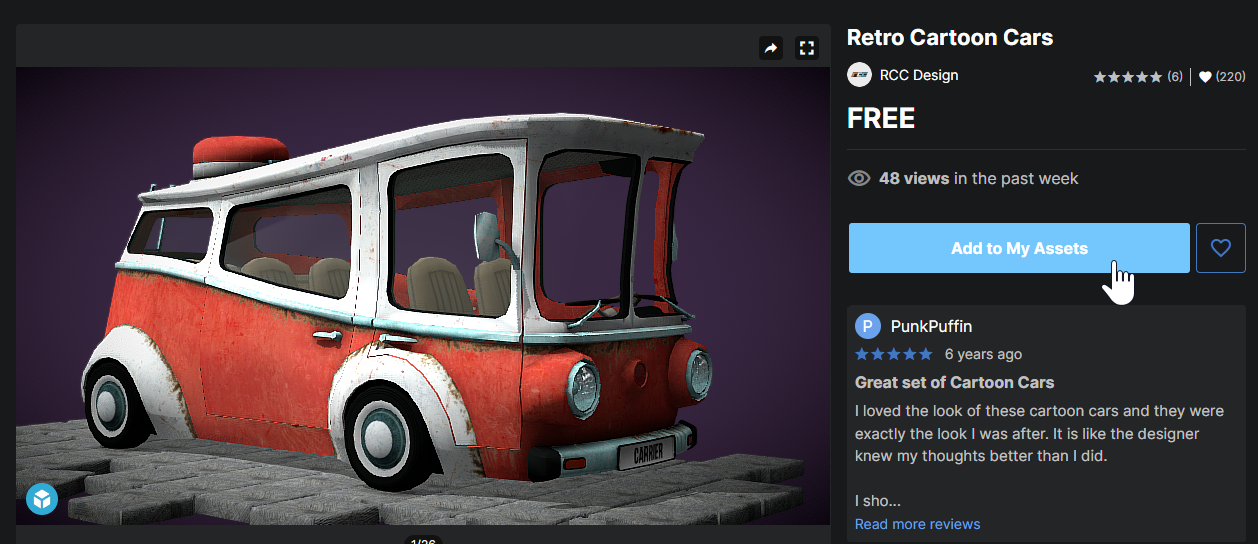
Add the Asset
A Unity Asset Store item first needs to be added to your Unity account before it can be installed in the Unity project.
Click the Add to My Assets button for this Retro Cartoon Cars asset by RCC Design.
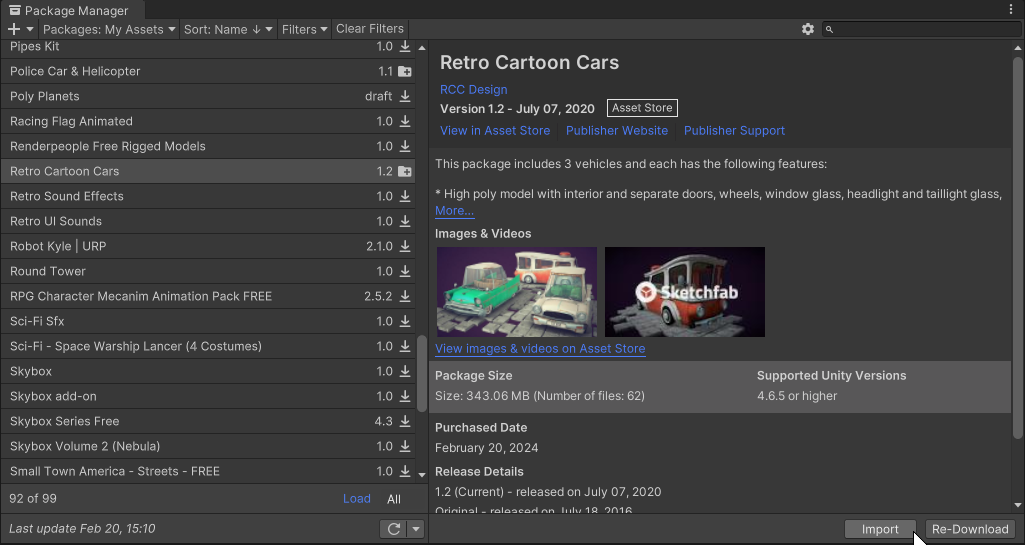
Import the Asset
In Unity, open the Package Manager window and select the Packages: My Assets option from the dropdown. Then find the Retro Cartoon Cars asset and click the Download button.
After downloading, click the Import button. Make sure all the assets are included and click the Import button again.
Move the Asset Folder
The imported assets are inside a new folder named RetroCartoonCarsPack1 in the Assets folder. Move that folder into the Assets > Experience > External Assets folder.

Drag into the Scene
The imported assets folder will have a subfolder named Prefabs. Drag each of those prefabs into the scene.

The pink material appears because the imported assets are using shaders not supported by the URP project.
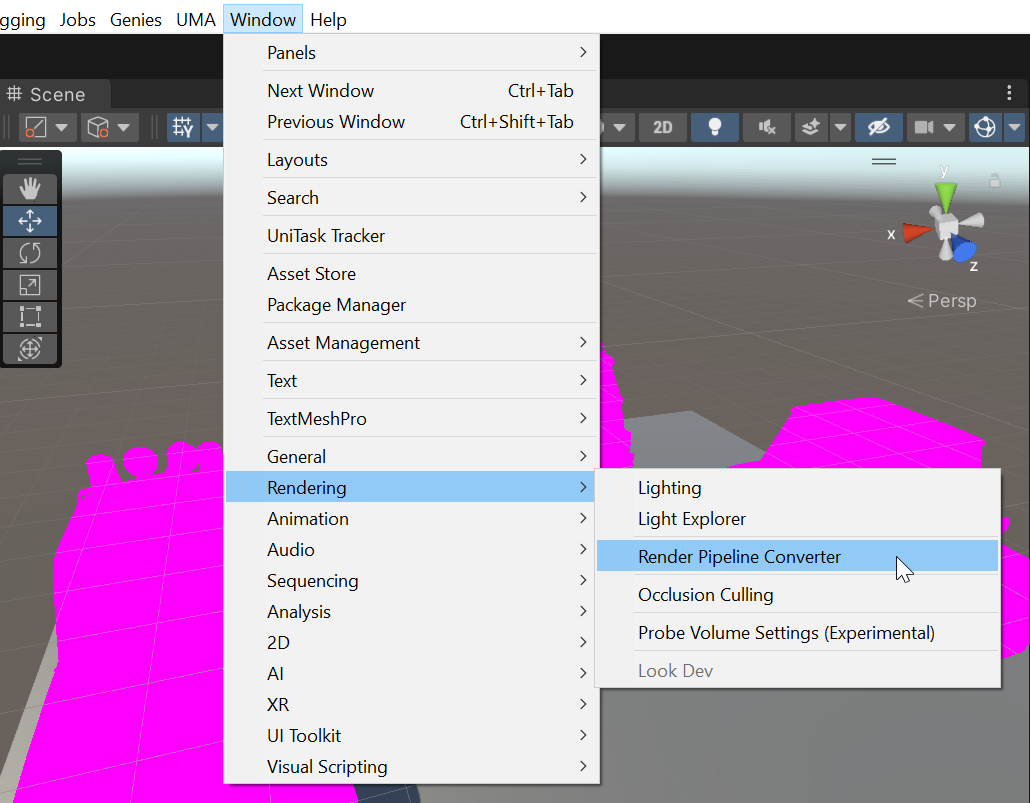
Open the Render Pipeline Converter
To convert all assets to URP shaders, Unity has a tool named Render Pipeline Converter. Open this tool window by selecting the top menu Window > Rendering > Render Pipeline Converter.
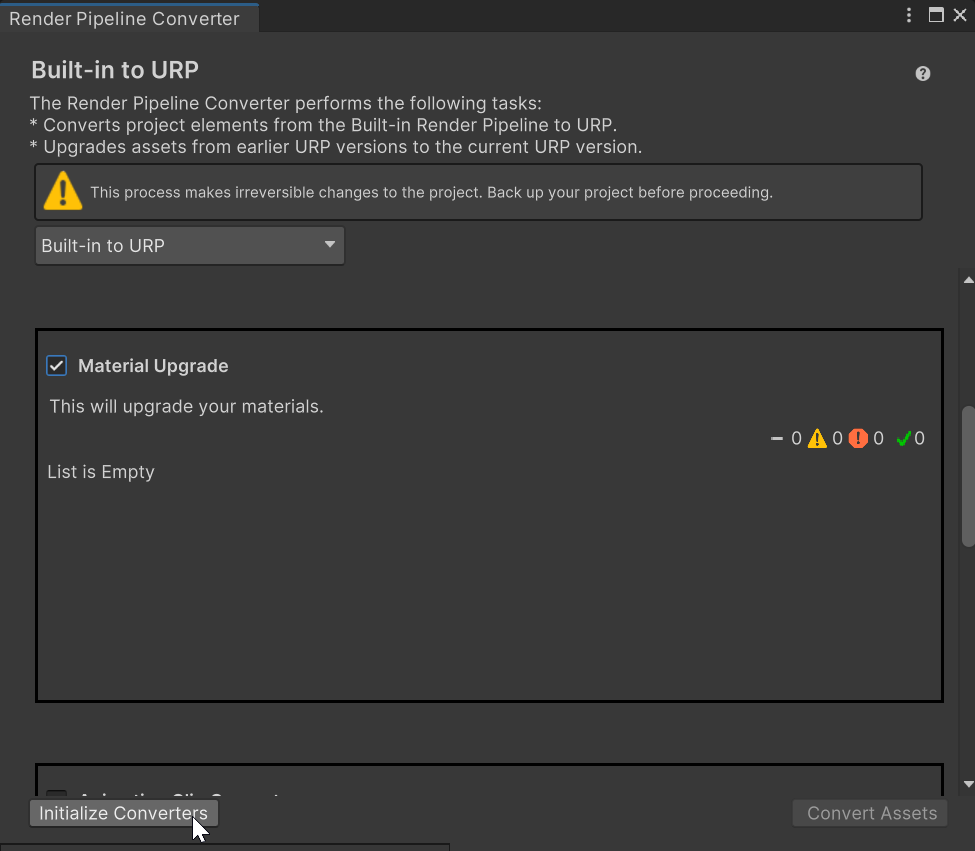
Initialize Converters
Once the Render Pipeline Converter is open, select the dropdown menu option for Built-in to URP. Then activate the Material Upgrade checkmark and click the Initialize Converters button.
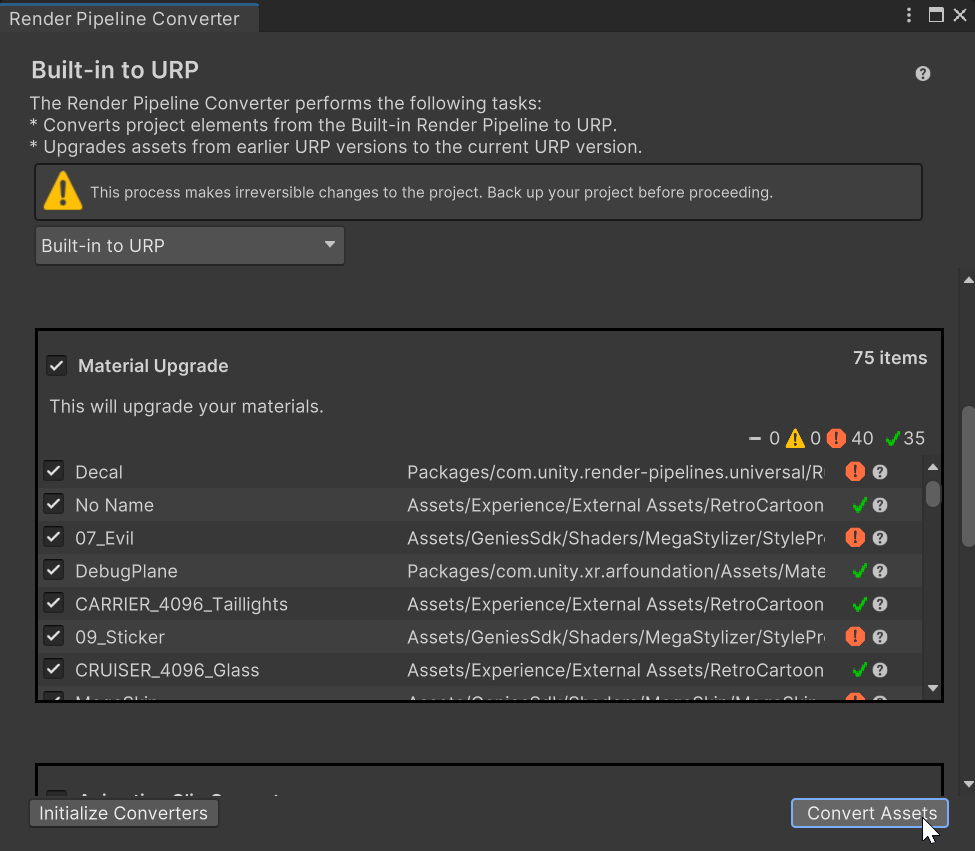
Convert Assets
Once the converters are initialized, press the Convert Assets button. This will begin the process of converting the materials to URP shaders.
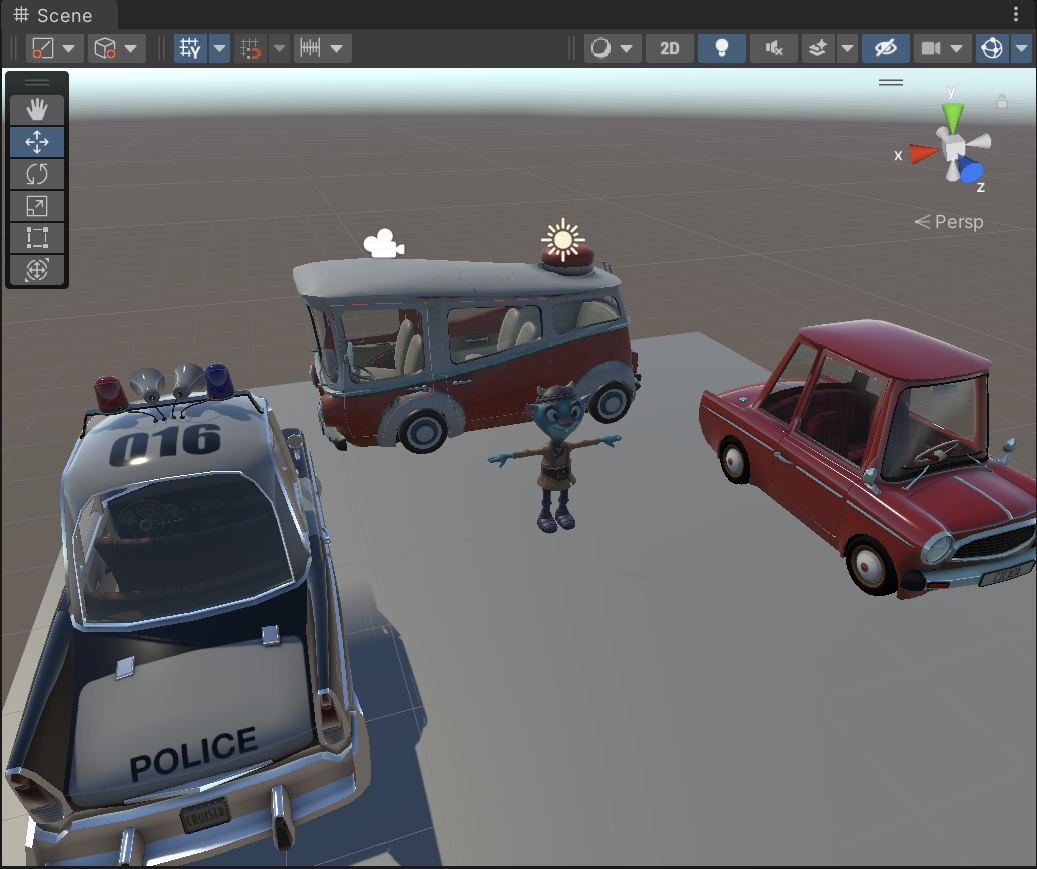
Test the Project
Once the process is done, the materials should be correctly displayed for each car prefab.
Add MegaStylizer Shader to Character
Create a Duplicate Material
In the Project window, find the character's material in the Assets > Experience > External Assets > Mixamo Character > Materials folder. Select the material and open the top dropdown menu Edit > Duplicate. Rename the duplicate to MS_01_Mixamo.

The reason to make duplicate materials is to compare the original material to the new MegaStylizer material later on.
Use the Duplicate Material
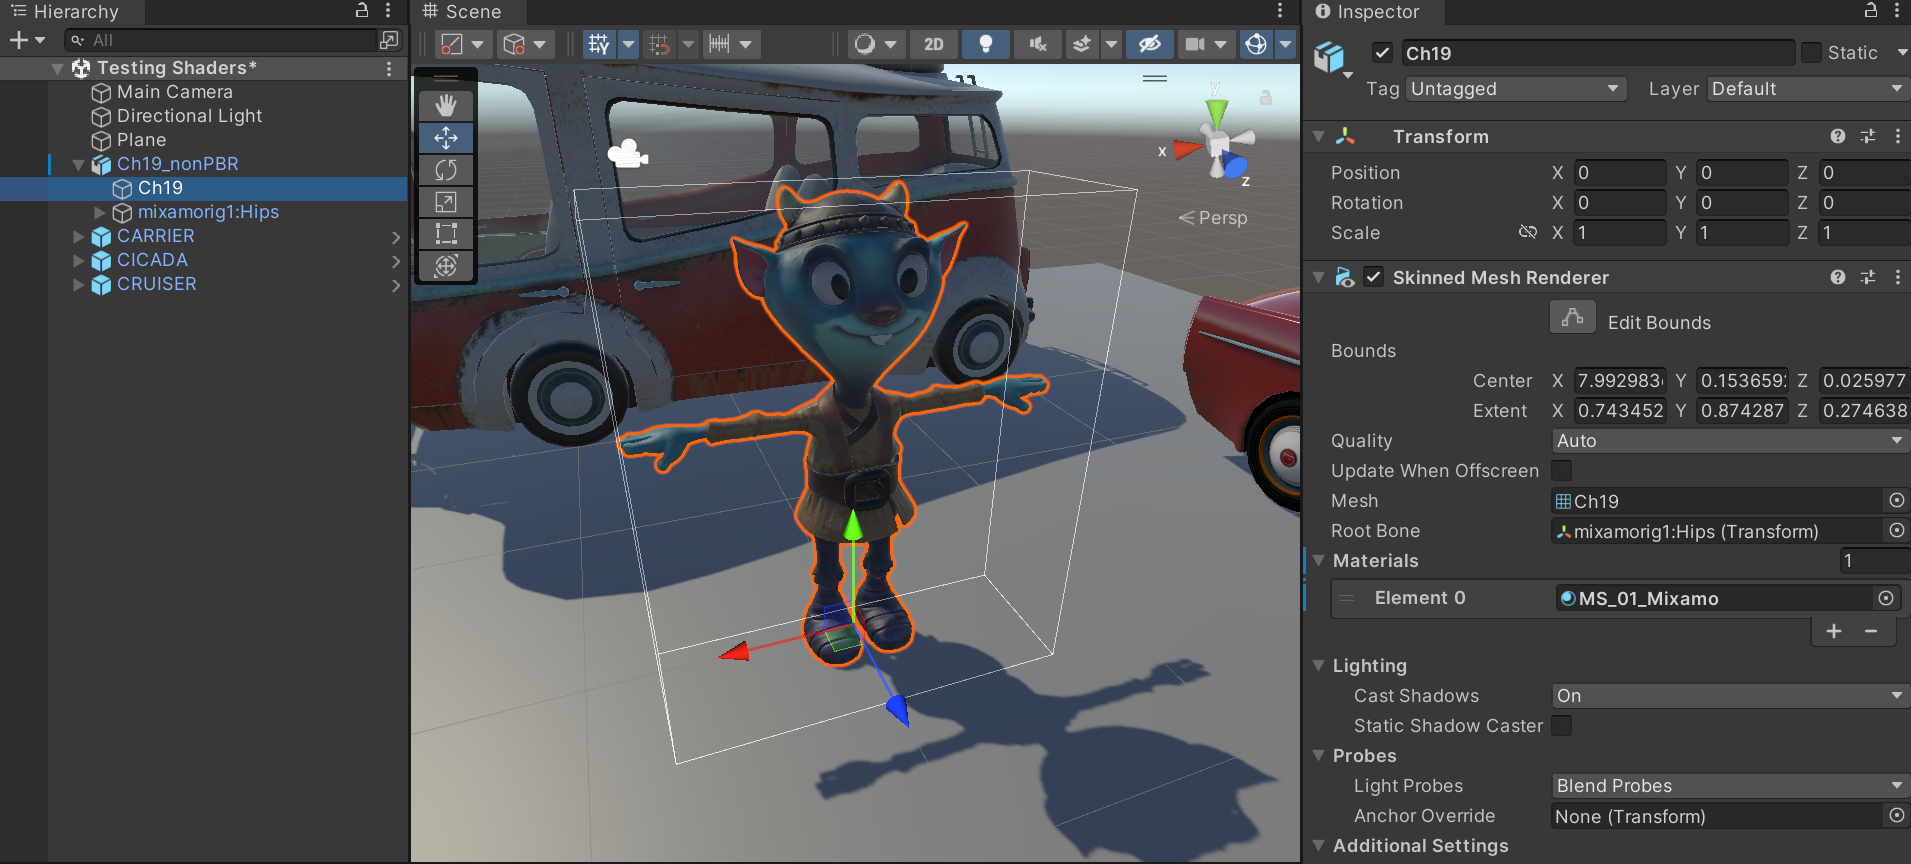
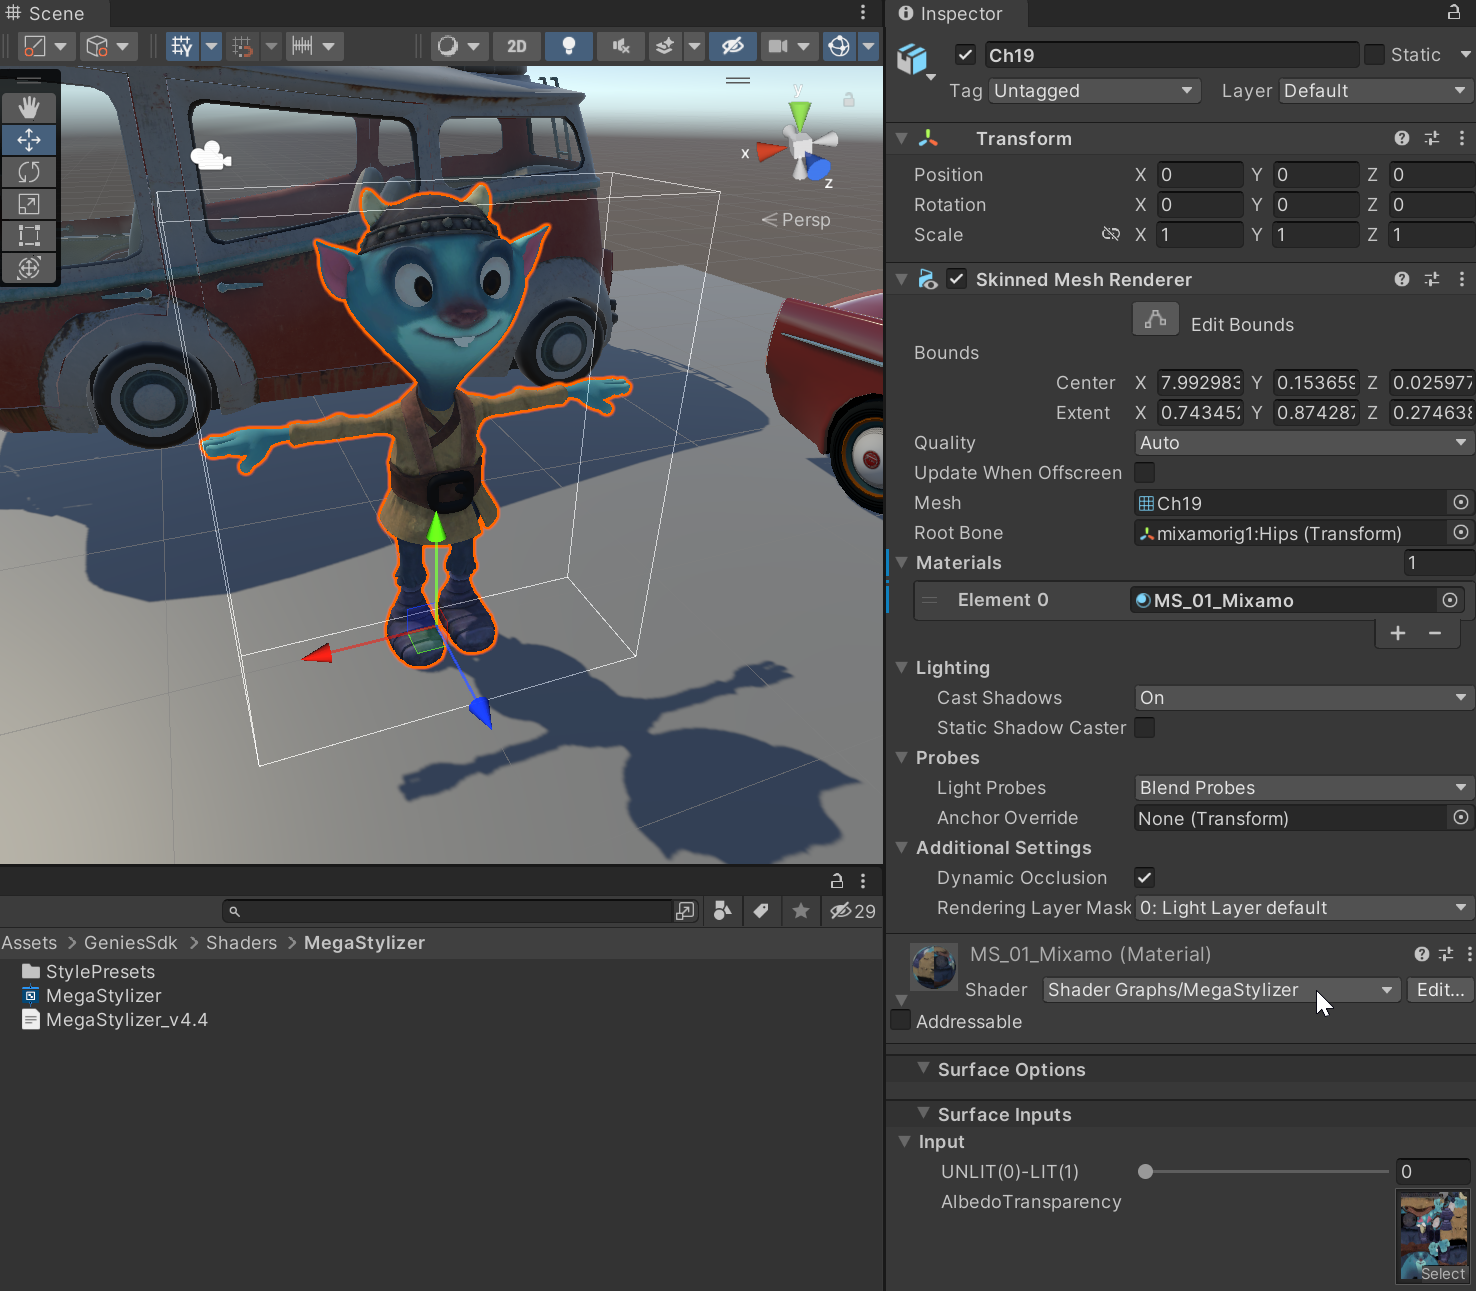
Drag the MS_01_Mixamo material on to the character model in the scene. You can also do this by selecting the character model's child object that contains the material reference as a property in the Inspector window.
Add the MegaStylizer Shader
Open the Project window and find the MegaStylizer shader asset under the Assets > GeniesSdk > Shaders > MegaStylizer folder.
Drag the MegaStylizer shader asset into the Inspector window while the character model's child object containing the material is selected.
Test the Project
Add another character model using the original material to get a comparison of the visual differences.
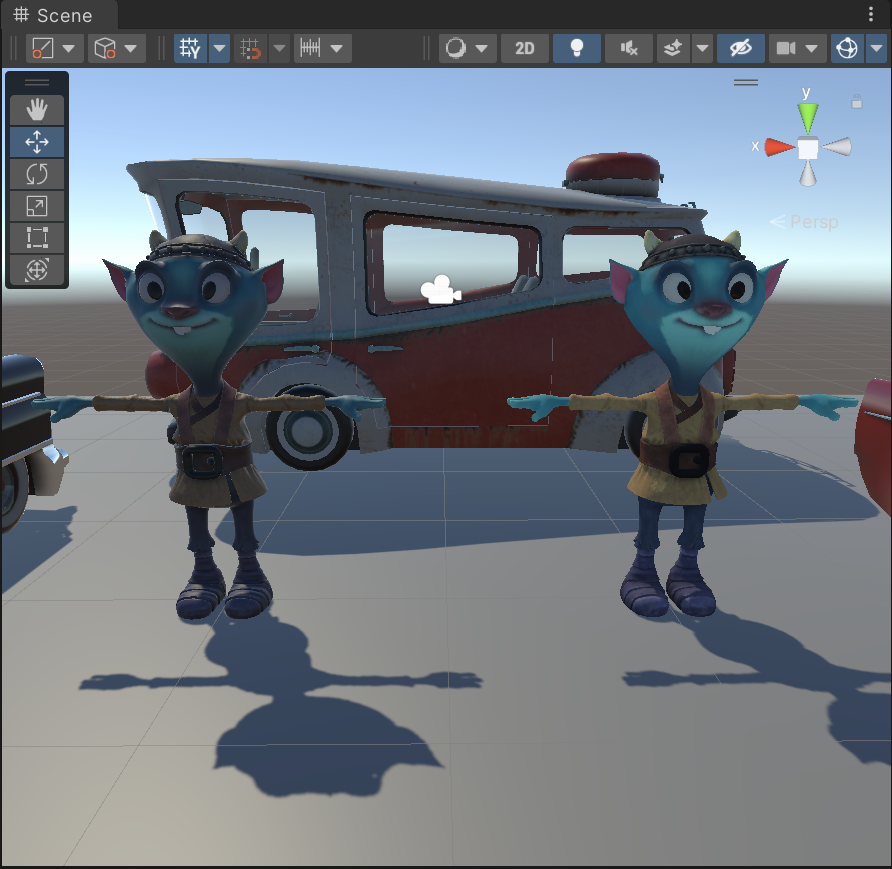
The MegaStylizer version may not look much better right now but the real benefits of the MegaStylizer shader is in the multiple properties to tune and tools to make an entire scene have a cohesive style.
Test the Style Preset
The MegaStylizer has multiple preset materials that show off different styles that can be achieved with the shader.
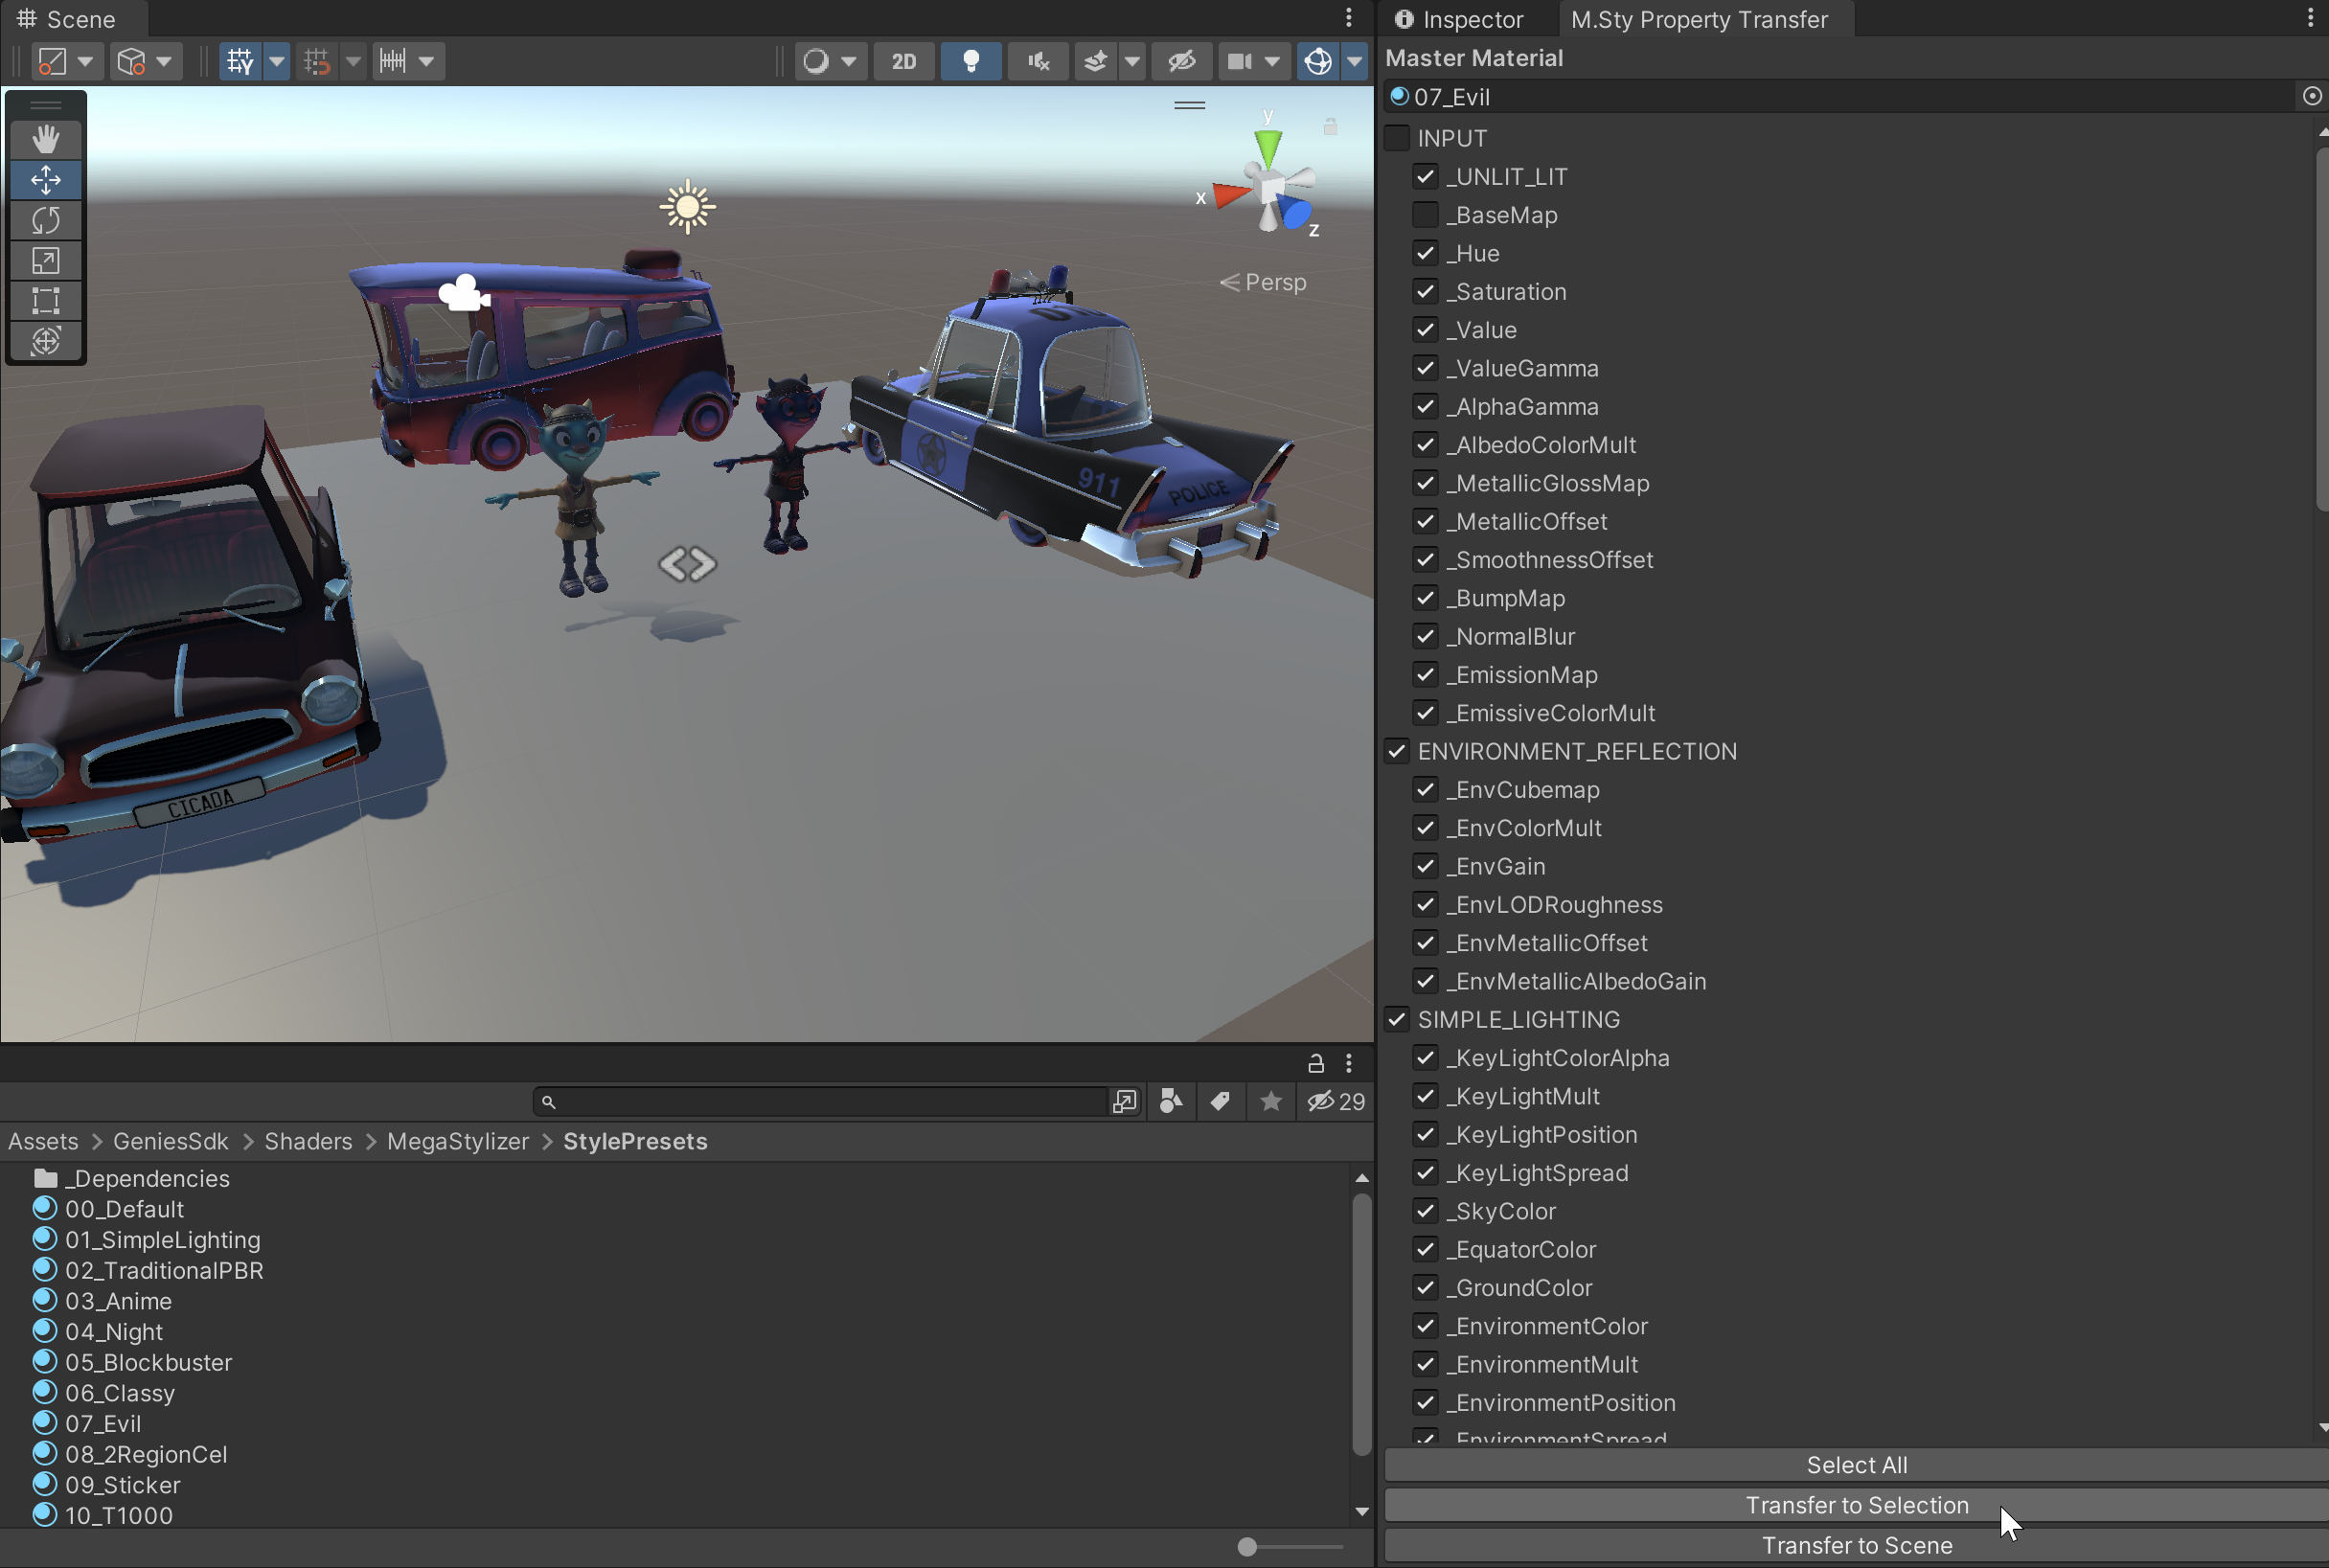
Open the MegaStylizer Property Transfer
Open the MegaStylizer Property Transfer tool window by selecting the top dropdown menu Genies > SDK > Tools > MegaStylizer Property Transfer.
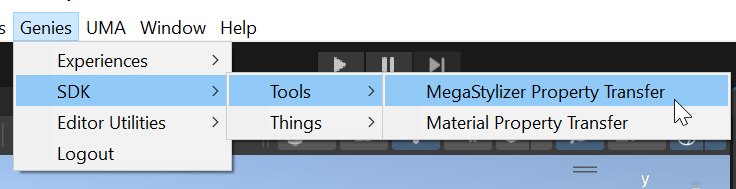
The MegaStylizer Property Transfer is a tool that can copy certain properties from one "master material" to other selected materials. Both the master material and selected material must be using the MegaStylizer shader for the property transfer to occur.
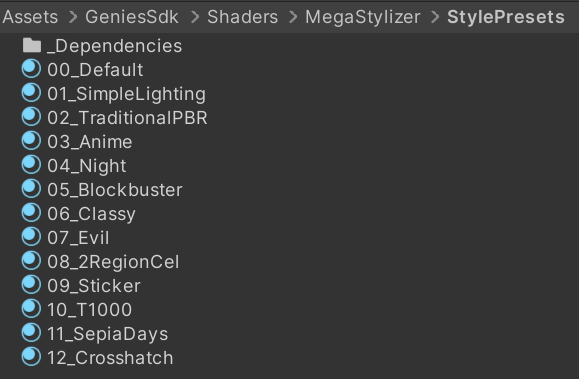
Open the Style Presets Folder
Find the style preset materials in the Project window under the Assets > GeniesSdk > Shaders > MegaStylizer > StylePresets folder.
Try the Traditional PBR Preset
Drag the 02_TraditionalPBR material into the Mater Material slot in the MegaStylizer Property Transfer window. Select the character model's child object that contains the material reference.
In the MegaStylizer Property Transfer window, make sure all the properties are selected except for _BaseMap. Then click the Transfer to Selection button and notice how the shader changes the character's material in the Scene window.
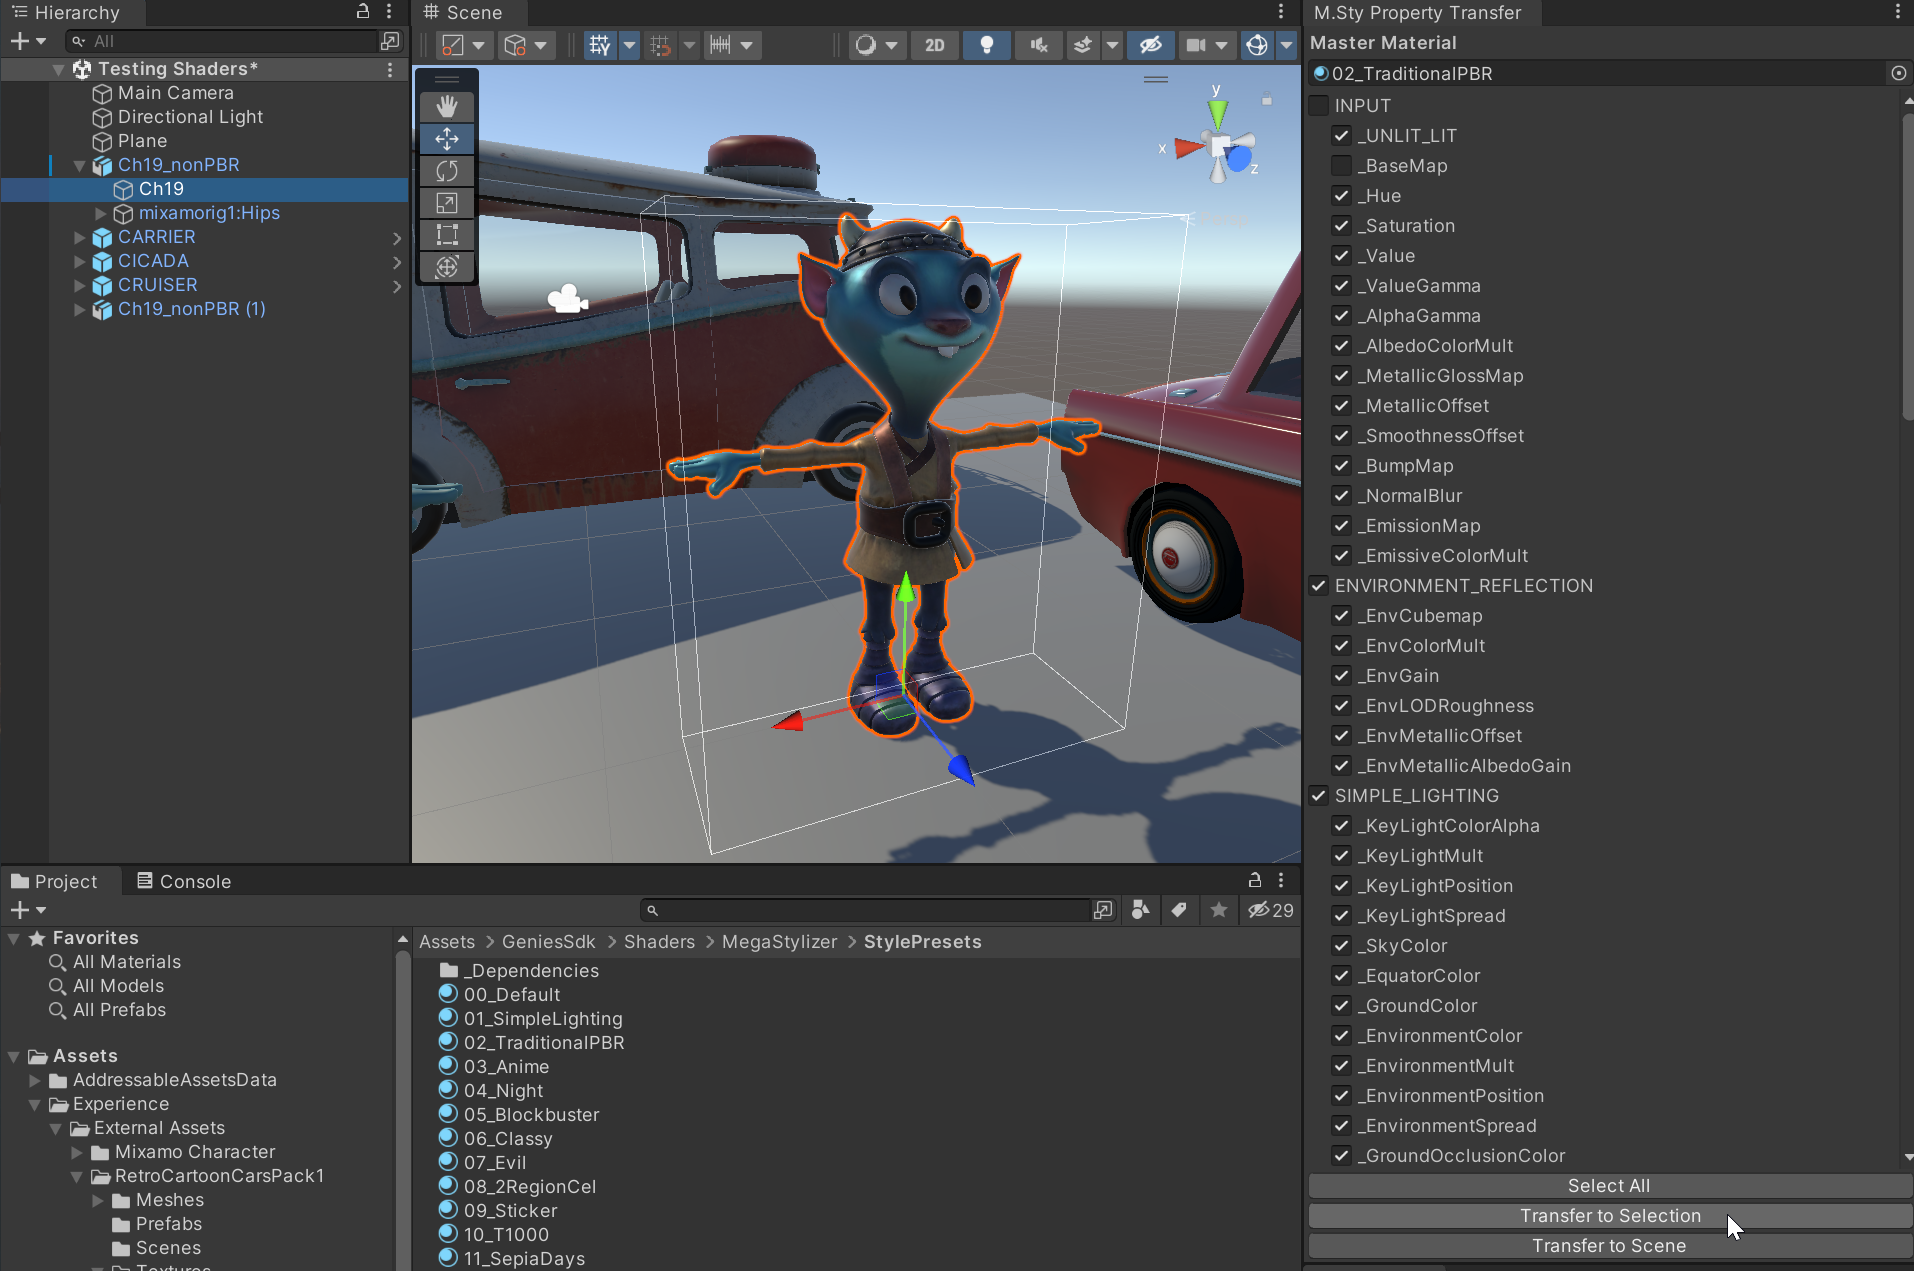
The _BaseMap property needs to be deselected or the character's material will lose the mapped textures and turn all white.
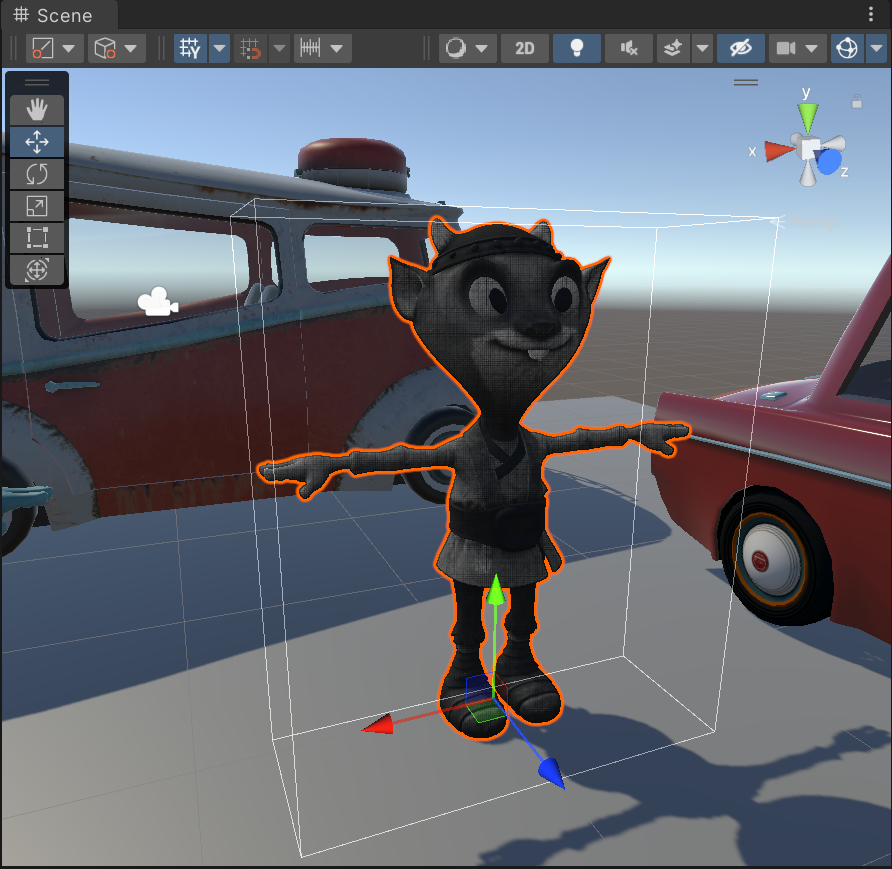
Test the Other Style Presets
Use the instructions from the step before to test the other styles presets.
Add MegaStylizer Shader to Cars
The car assets have multiple materials for each of the prefabs. It doesn't always make sense to add the MegaStylizer shader to all materials as mentioned later with the car glass material.
Select the Main Car Material
In the Project window, open the Assets > Experience > External Assets > RetroCartoonCarsPack1 > Meshes > Carrier > Materials folder. Select the CARRIER_4096 material which represents the main car body material.
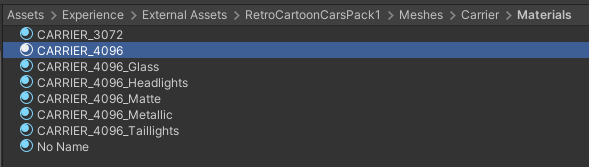
The reason only one material is being selected from the car is because the glass materials would lose their transparency if the MegaStylizer shader is applied.
Add the MegaStylizer Shader
In the Project window, open the Assets > GeniesSdk > Shaders > MegaStylizer folder. Drag the MegaStylizer shader asset to the bottom of the Inspector window for the selected material.

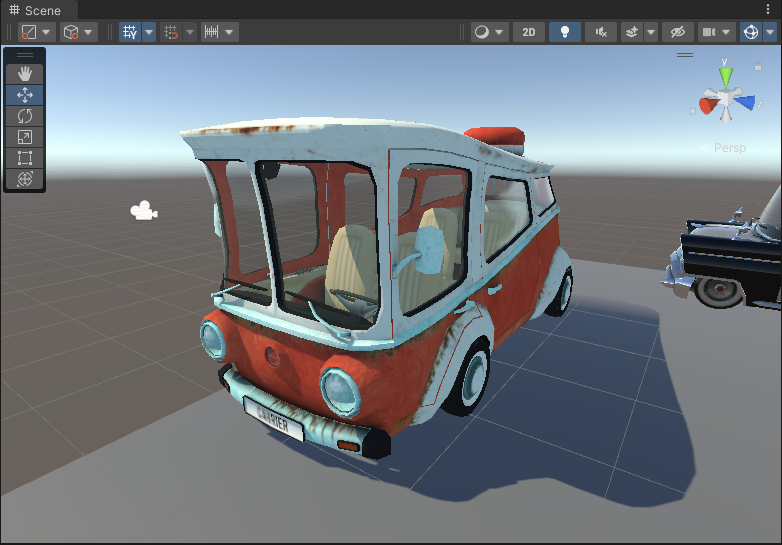
Test the Project
In the Scene window, the Carrier car should have a new material appearance.
Add MegaStylizer to the Other Cars
Follow the previous steps to add the MegaStylizer shader to the main car body materials for the Cicada and Cruiser cars.
The Cicada car has a CICADA_4096_Paint material that also needs to have the shader applied for the main car body to be changed.
Test the Project
Open the MegaStylizer Property Transfer tool window. Use one of preset style material as the Master Material property. Select all the properties except the _BaseMap and click the Transfer to Scene button.
Conclusion
Congrats on using the MegaStylizer shader to easily change materials in a game to look good and mesh with other materials! There are plenty of other properties the MegaStylizer has to offer for any developers looking to add more customization.