Overview
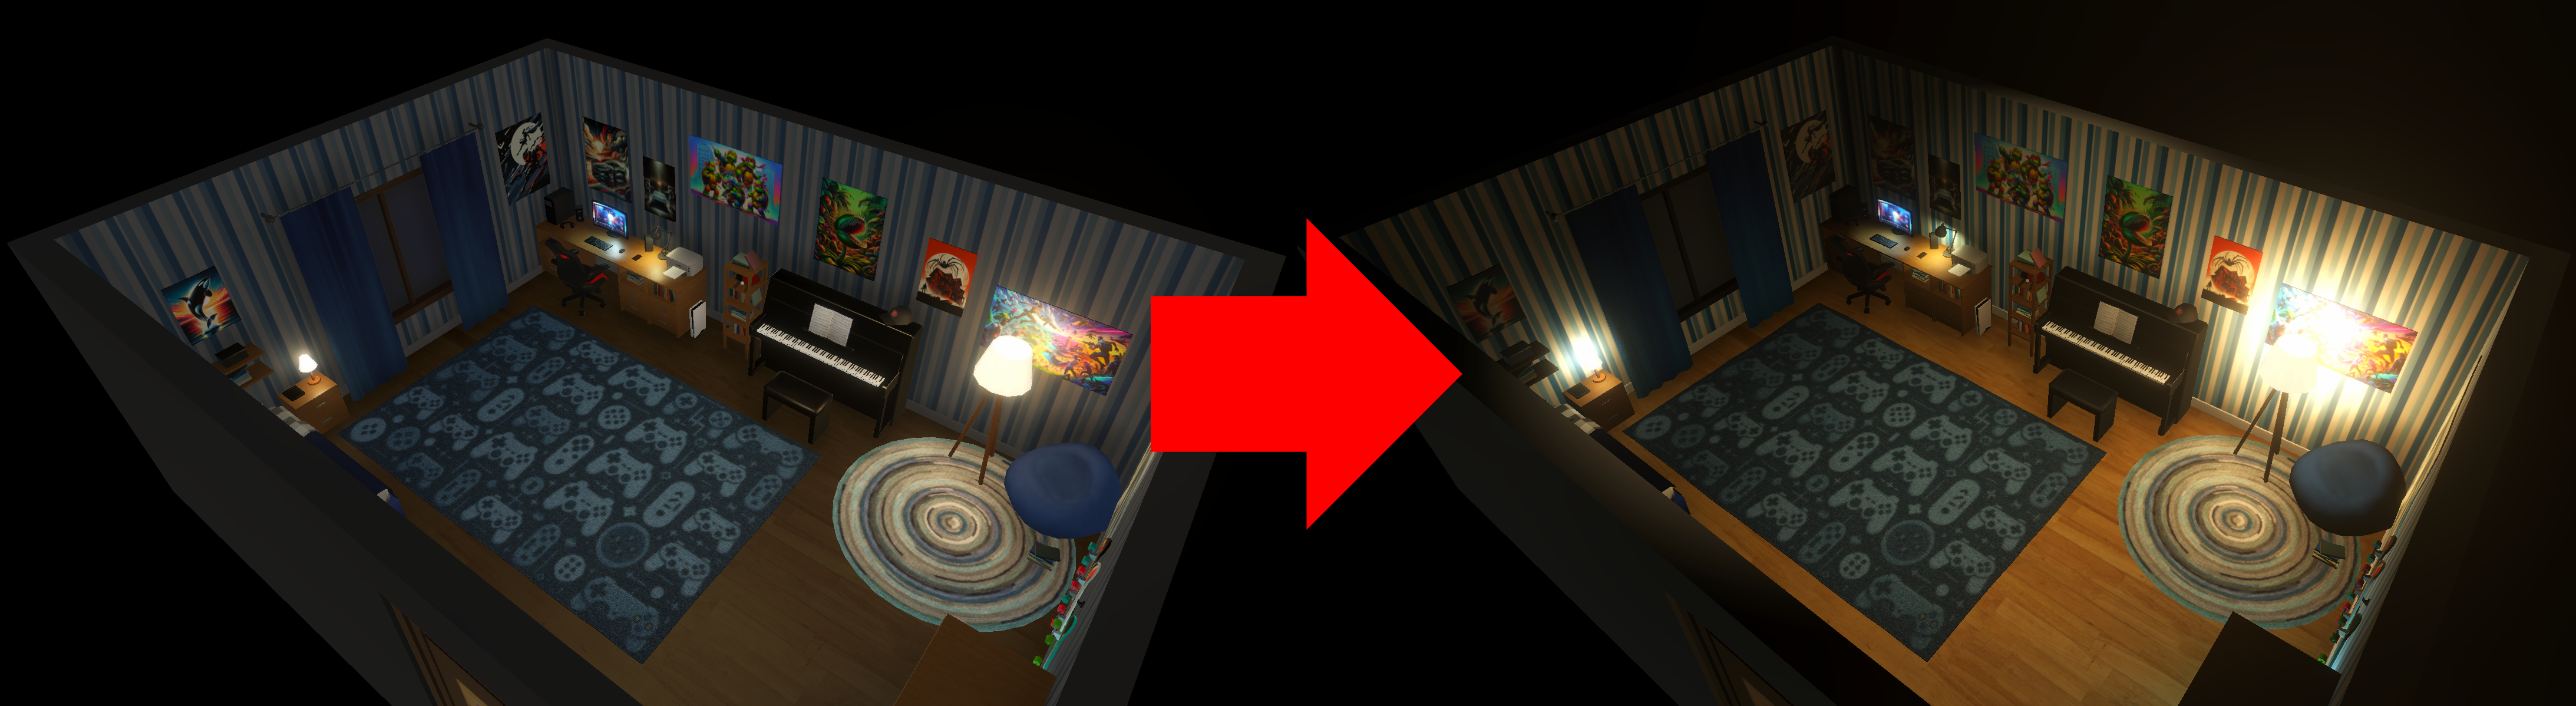
MegaStylizer is a Unity shader included in the Experience SDK that bundles multiple visual styles and lighting.
The MegaStylizer is currently being developed so some of this information is no longer relevant.
Use Case
The MegaStylizer shader has the following uses for developers:
- Developers want a certain art theme or lighting style.
- Developers need more options beyond Unity's default shaders.
- Developers import a variety of art assets that may not be visually cohesive.
External custom shaders are not allowed to be used when developing a Genies Experience similar to C# scripts.
Asset Files
The MegaStylizer assets can be found in the Packages > Genies Shaders > Runtime > Shaders > MegaStylizer folder. Inside this folder, you can find the shader asset and a folder with preset materials assets.

Styles
The MegaStylizer shader has 3 main styles:
- LIT: the standard URP (Unity built-in Render Pipeline) PBR (non-Physically Based Rendering).
- UNLIT - Simple Lighting: stylized URP lighting.
- UNLIT - Cartoon: cel shader.
By default, the shader is set to UNLIT - Simple Lighting.
Properties
There are several properties to customize the MegaStylizer shader. Check out the MegaStylizer Properties page for more information.
By playing with the properties UNLIT(0) - LIT(1) and Cartoon Shading Amount you can achieve very interesting looking hybrids in between different styles.
Tools
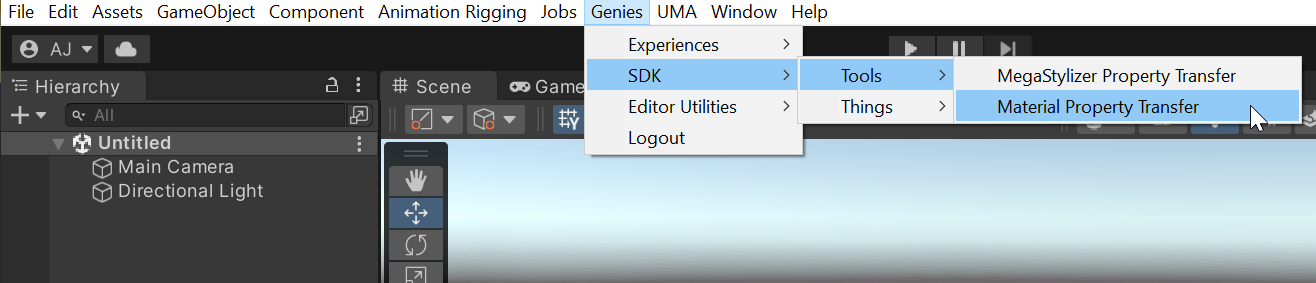
The MegaStylizer shader includes two powerful tools: MegaStylizer Property Transfer and Material Property Transfer.
You can find both tools in the top dropdown menu Genies > SDK > Tools.
MegaStylizer Property Transfer
The MegaStylizer Property Transfer tool can transfer properties from one master material to other selected materials. The materials can only transfer properties if they are using the MegaStylizer shader.
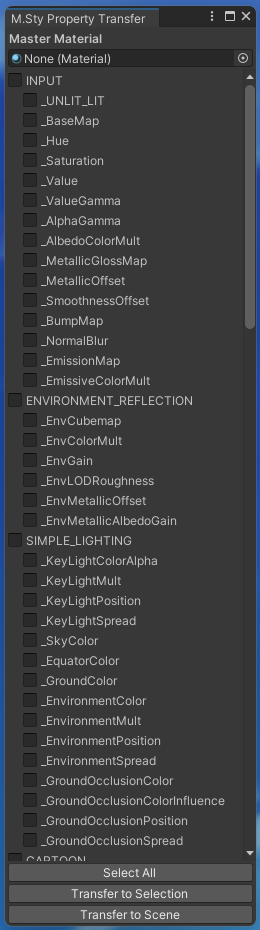
Material Property Transfer
The Material Property Transfer tool is similar to the MegaStylizer Property Transfer tool except it can transfer properties from any type of material, regardless if they are using the MegaStylizer shader.

Use the MegaStylizer Property Transfer tool instead of the Material Property Transfer tool if all the materials involved use the MegaStylizer shader because it is much easier to select grouped properties.
Presets
The MegaStylizer shader has 12 presets:
- 01_SimpleLighting: basically, the default.
- 02_Traditional: the shader set to LIT, so it behaves like a normal URP-Lit shader. If you only need this, and you are not planning to use any of the other features of the MegaStylizer, I encourage you to simply use URP-Lit to get better performance.
- 03_Anime: simple cel shading, mainly flat, with a fainted shadow and an outline.
- 04_Moonlight: dark blue multiplied by the albedo and a soft white rim to resemble the moon light.
- 05_BlockBuster: slightly darken albedo with orange and blue side normal lights to add to the dramatic look.
- 06_Classy: Similar to SimpleLighting, but adding fake reflections using a cubemap, and a soft top rim.
- 07_Evil: dark blue heavy tint on the albedo, with a soft white back rim and a prominent red rim from bottom up.
- 08_2RegionCel: 2 tone cel shading, resembling the to the look of the latest Zelda games.
- 09_Sticker: flat shader (all cartoon shader values set to white) with the Alpha Rim set to white, to simulate a sticker.
- 10_T1000: desaturated albedo with the smallest “Value Gamma”, and “Metallic Offset” set to its maximum value.
- 11_SepiaDays: soft cel shaded with desaturated albedo, sepia tint and adjusted contrast. It has a texture on screen space to simulate the old film look.
- 12_Crosshatch: use of the Cartoon Texture to simulate a crosshatched effect. It also has a textured outline to resemble pencil.

To use the presets, use the Property Transfer tool and search for the preset name under the Material Master input.
Tutorial
Read the MegaStylizer tutorial to learn how to use it in an example.