Build and Test your Experience
A Genies Experience needs to be built and uploaded to the Genies Hub Portal website so it can be tested on the 7th Period app.
Requirements to Build
Before attempting to build the Experience, make sure it meets these requirements:
- Latest version of the SDK package is installed.
- No custom C# scripts.
- No custom HLSL and GLSL shaders, but shader graphs are fine to use.
- No custom DLLs or other assemblies.
- Editing assemblies is disallowed.
- All custom assets (scenes, prefabs, etc.) are within the Assets > Experiences folder.
- The Unity installation has the necessary platform modules.
How to Build
The SDK is designed to build your project to the required platforms automatically through the Experience Settings under Project Settings / Preferences. This means that you do not need to use Unity's Build Settings to generate a build.
Make sure all requirements are completed before starting the steps to build an Experience.
Setup the Experience
Make sure you connected your Genies account and linked your Experience to the Genies Hub Portal in the Project Settings shown in the Quickstart page.
Verify the Keys
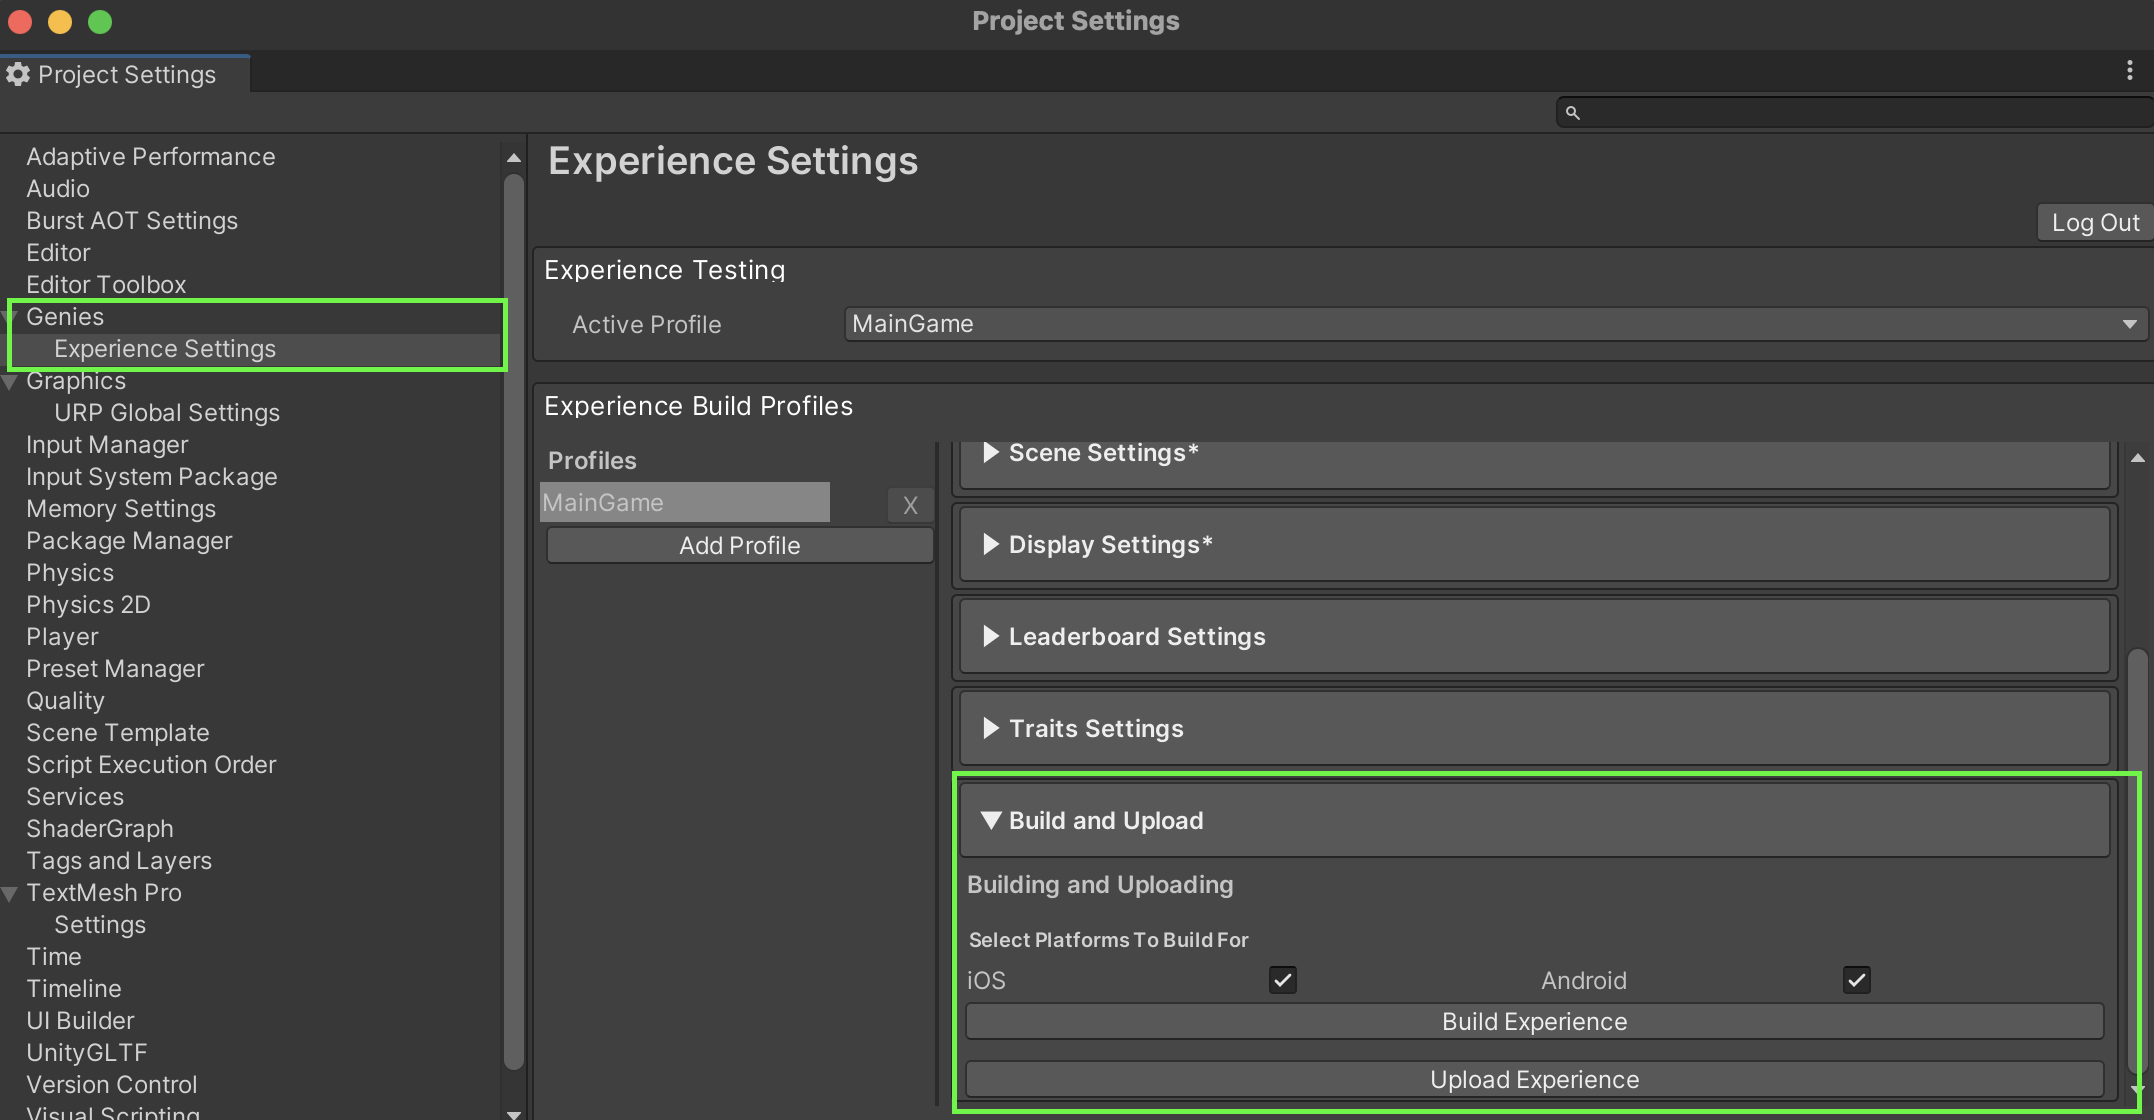
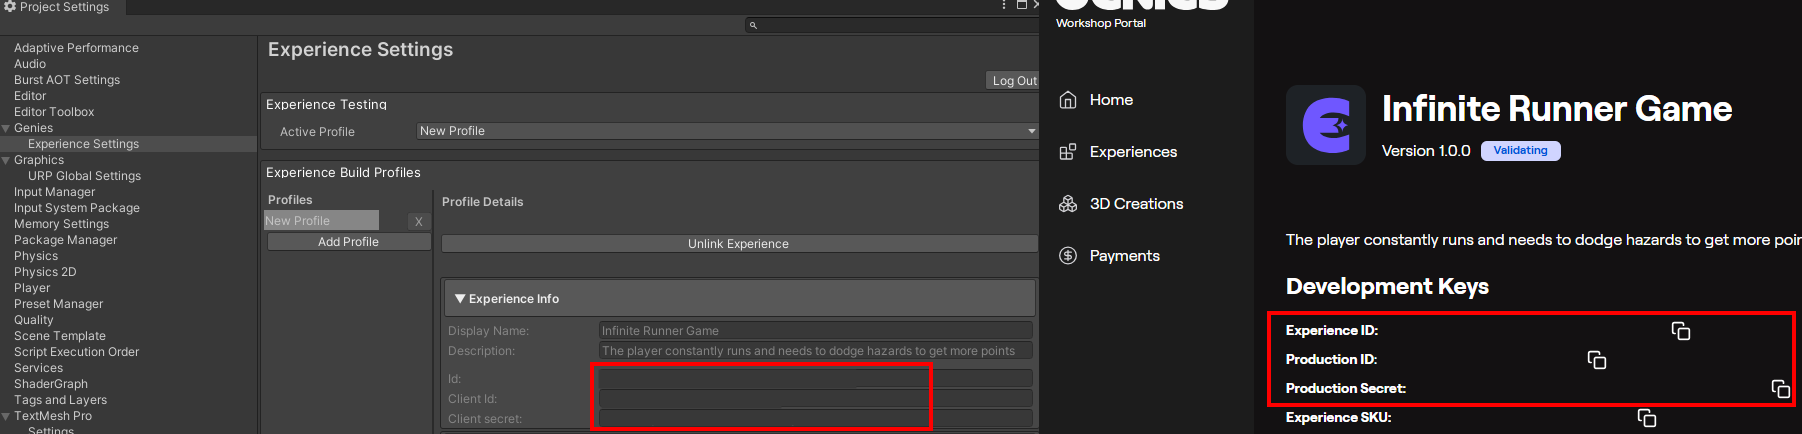
Open the Project Settings window by pressing the top dropdown menu option Edit > Project Settings. Select the Genies > Experience Settings section in the left menu. Verify the keys are the same as the ones shown in the Genies Hub Portal.
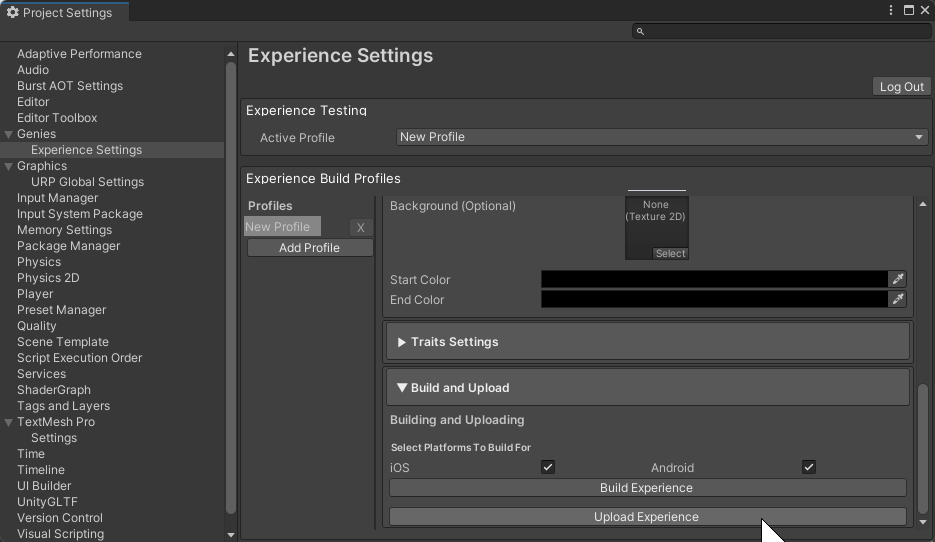
Build the Experience
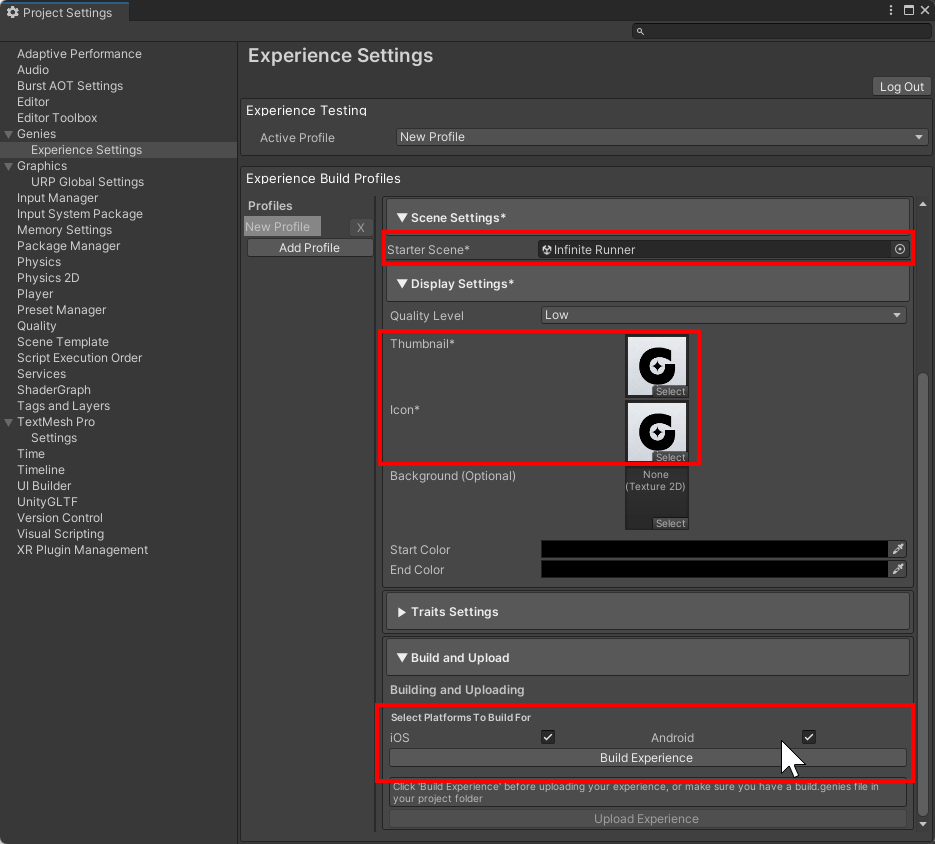
Add the scene to the Starter Scene property. Then add a small icon image to the Thumbnail and Icon property. Then press the Build Experience button at the bottom.
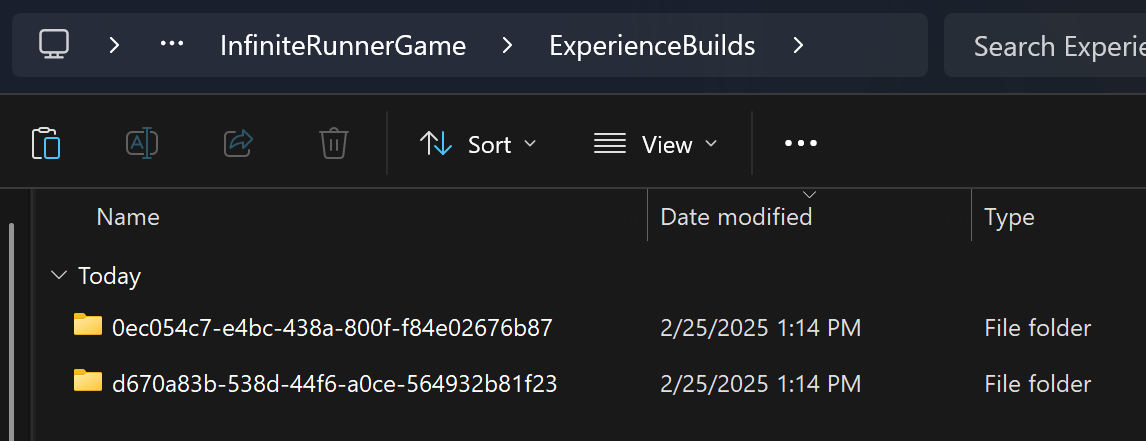
Genies Build Files
Once built, there will be a genies.build file generated inside the Unity project directory. They are contained in the ExperienceBuildArchives folder within sub-folders for each separate build. Check the date created to see which is the most recent genies.build file.
Upload your Build
Automatic Upload
Once the Experience is built, press the Upload Button to automatically upload it to the Genies Hub Portal page.
QR Code
Once the upload is complete, it will display the QR code and link to open the Experience build in the 7th Period app.
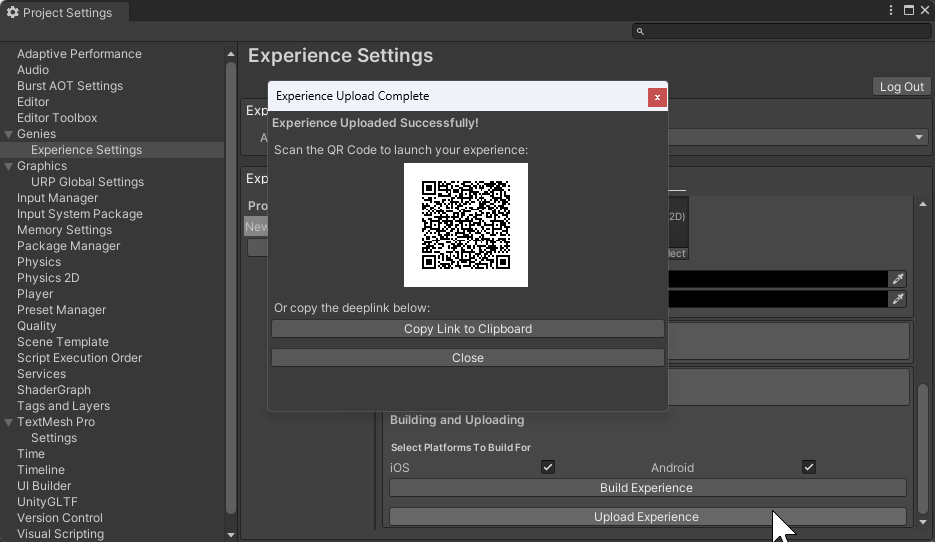
You will need to have the 7th Period app installed on your device in order for this to work properly. Otherwise, you can use the Interim Launcher app if you were provided the application download to test your Experience.
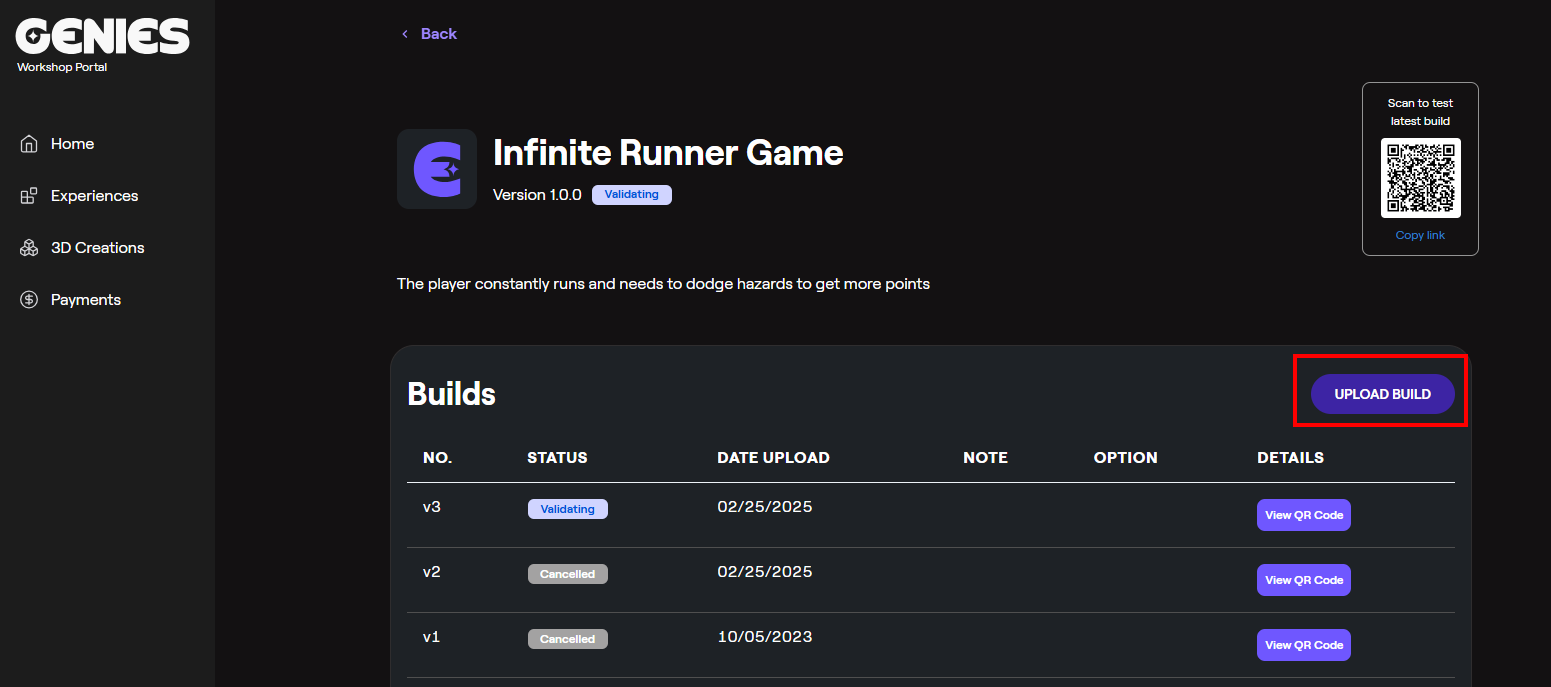
Manual Upload
You can also manually upload a genies.build file inside the Experience page within the Genies Hub Portal website by pressing the Upload Build button.
Test your Build
After uploading your build, you can test your Experience build on the 7th Period app by using the QR code generated or the Interim Launcher app.
7th Period App
You can find more QR codes and links for specific builds in the Genies Hub Portal website. These will direct you to the 7th Period app and automatically start the Experience.
Developers looking to test their Experiences on the 7th period app will need a specific version of the app using TestFlight. Reach out in the Discord if you need access.
Interim Launcher App
There is also an Interim Launcher app that can be used to test your Experience. Upon opening the app, it will list all Experiences uploaded by you. This cannot be accessed from the QR code link.
Developers looking to test their Experiences on the Interim Launcher app will need to use TestFlight. Reach out in the Discord if you need access.