Texturing
Before you start texturing
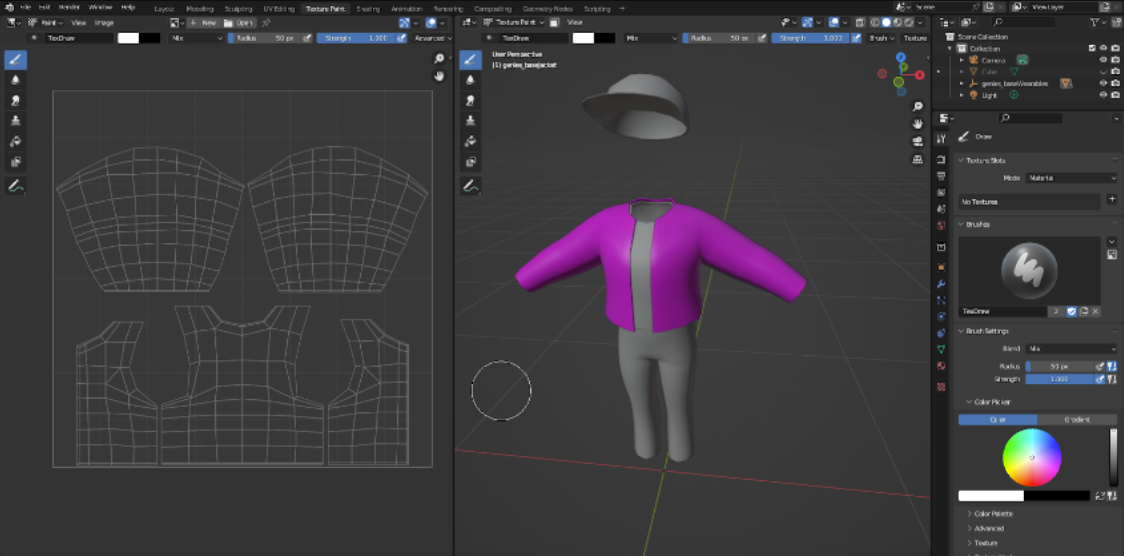
After unwrapping the UVs, head over to the “texture paint” tab. The texture will show as a bright pink because there is no material applied to the model.

You should have a split screen that looks like this:
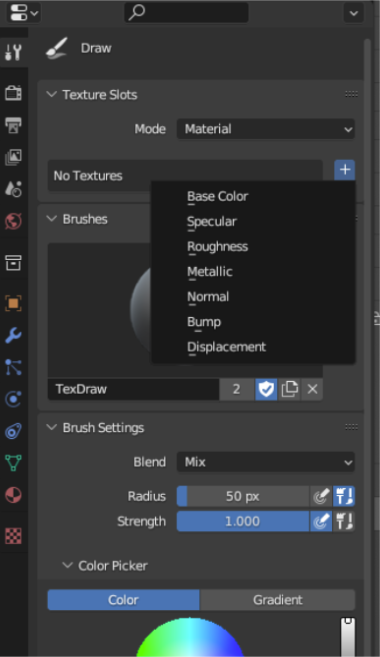
Texture Map Definition Basics
- Base Color - color information that dictates what the surface of the model
- Specular - color and value information for how strong and what color a sheen would appear on the surface of the model when it interacts with light information.
- Roughness - Value information that corresponds to how smooth the surface is.
- Metallic - Value information that corresponds to how metallic a surface is.
- Normal - color and value information that gives surface detail information for lighting.
- Bump - Value information that gives surface detail.
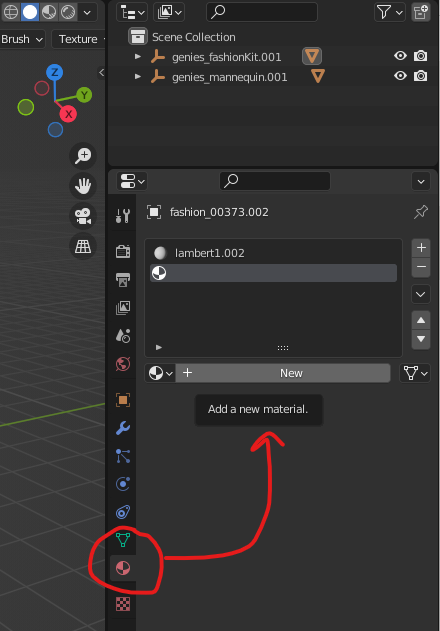
STEP 1: Create and Set a Material
1.1 Make sure to select the model you want to paint.
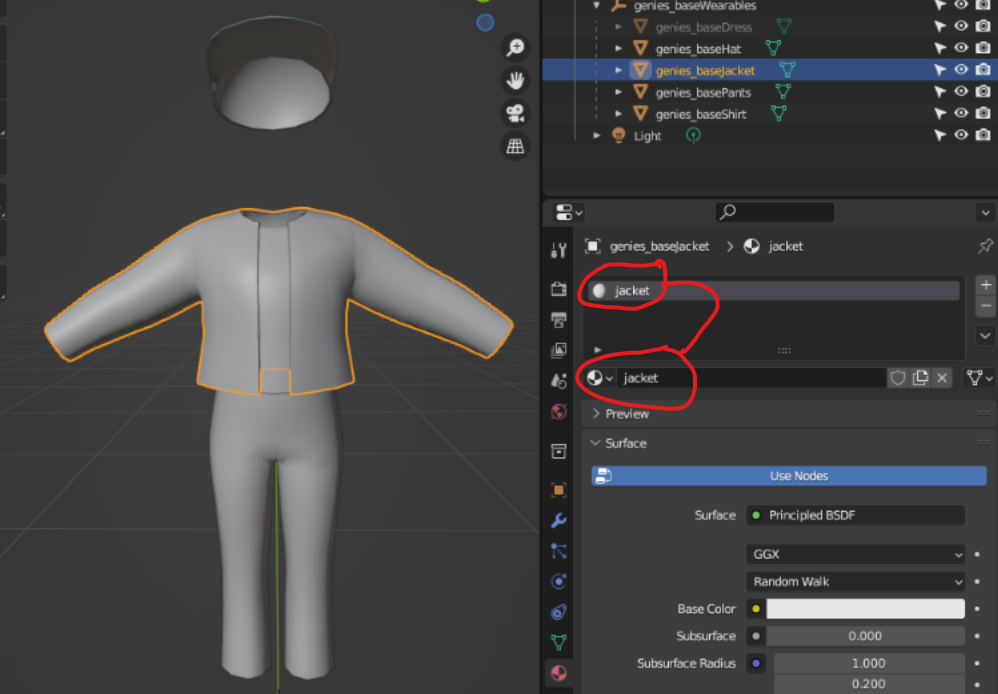
1.2 Navigate o to Material Properties > New. A new material will populate the materials window above the “new” button.
1.3 Rename the material to the desired name that correlates to the model. In this example we’re using “jacket”.
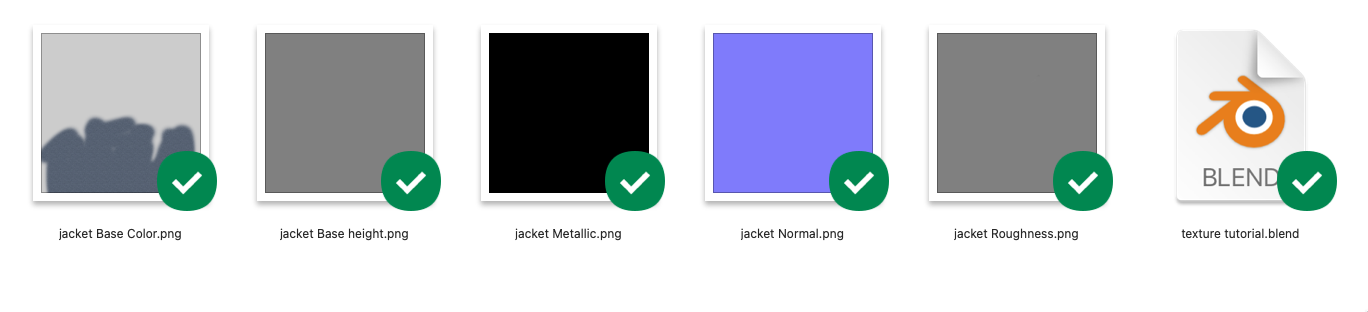
STEP 2: Create Individual Texture Maps
These maps will populate the material we just made:
- Base-color
- Roughness
- Metallic
- Bump
Step 3. Save each texture map individually
SUPER CRITICAL STEP!
Save each texture map individually. Blender does not save those when you save the project. Do this to ensure work doesn't get lost between work sessions. Save periodically, especially when alternating between maps.**
STEP 4: Apply colors and textures to each map for desired appeal
STEP 5: Prepare URP ready textures for Genies Hub
CONGRATULATIONS! Your completed texturing your digital Wearable!