Blend Shapes Tutorial
Blend shapes are a way to deform a 3D model's geometry to create an animation for a Thing-max. This tutorial will show how to create a blend shape for a 3D model using Blender 4 and then use it in a Thing-max protocol.
Open Blender
Open Blender and then open the 3D model you wish to use.
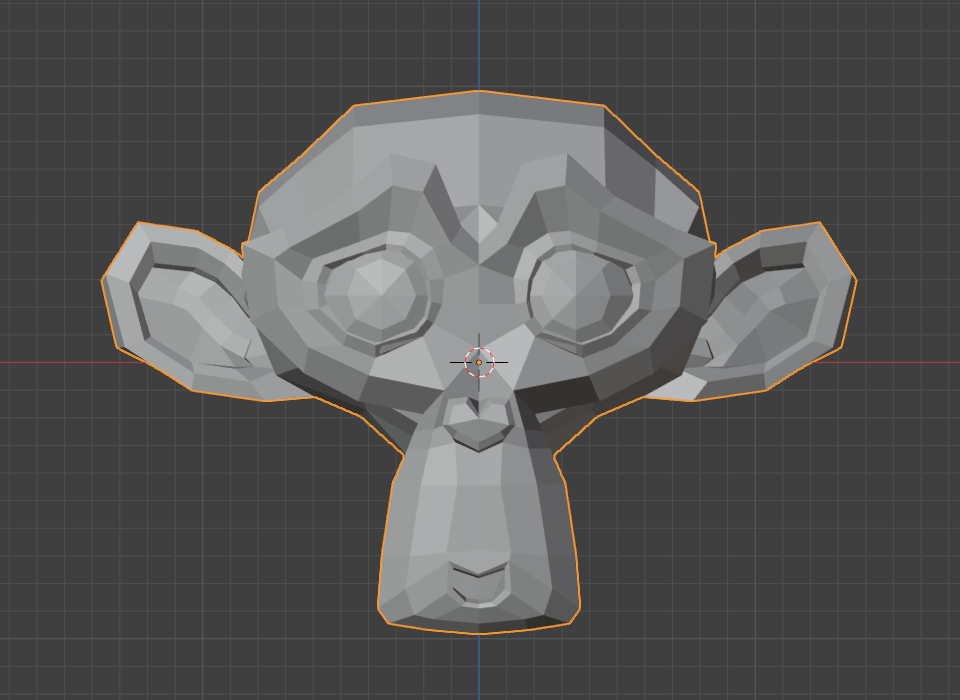
The Suzanne model is available selecting the top menu dropdown Add > Mesh > Monkey.
Create the Blend Shapes
Open the Data Properties
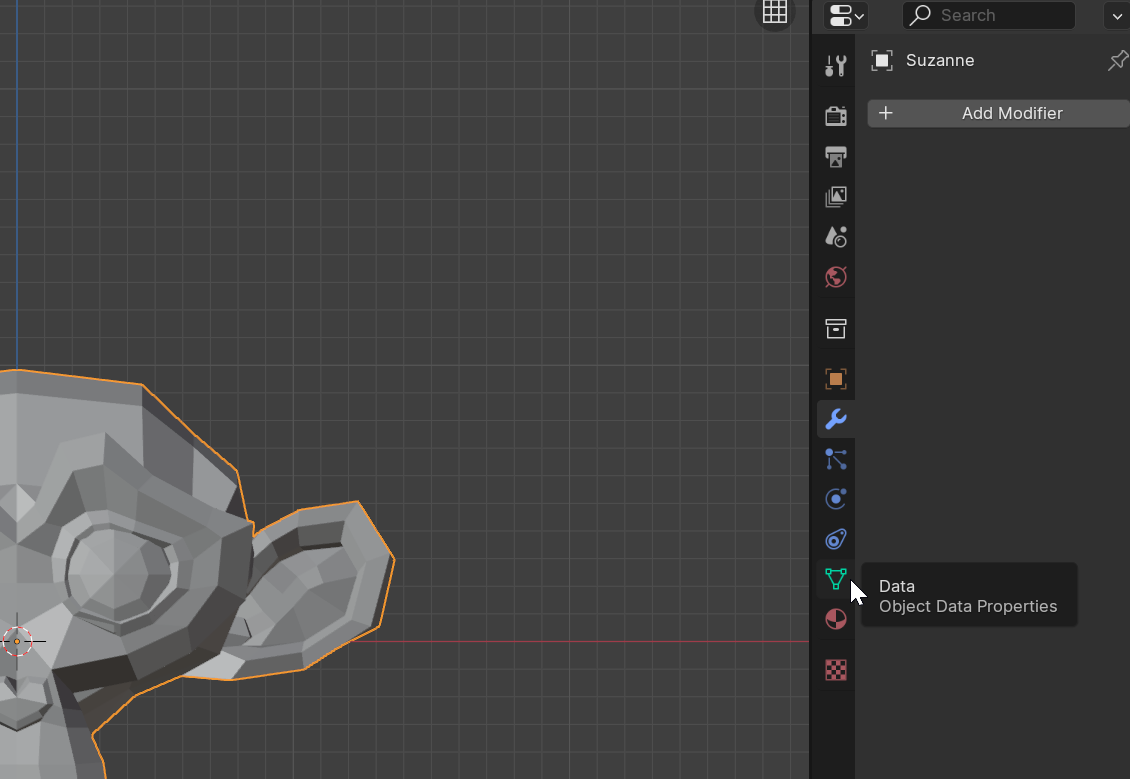
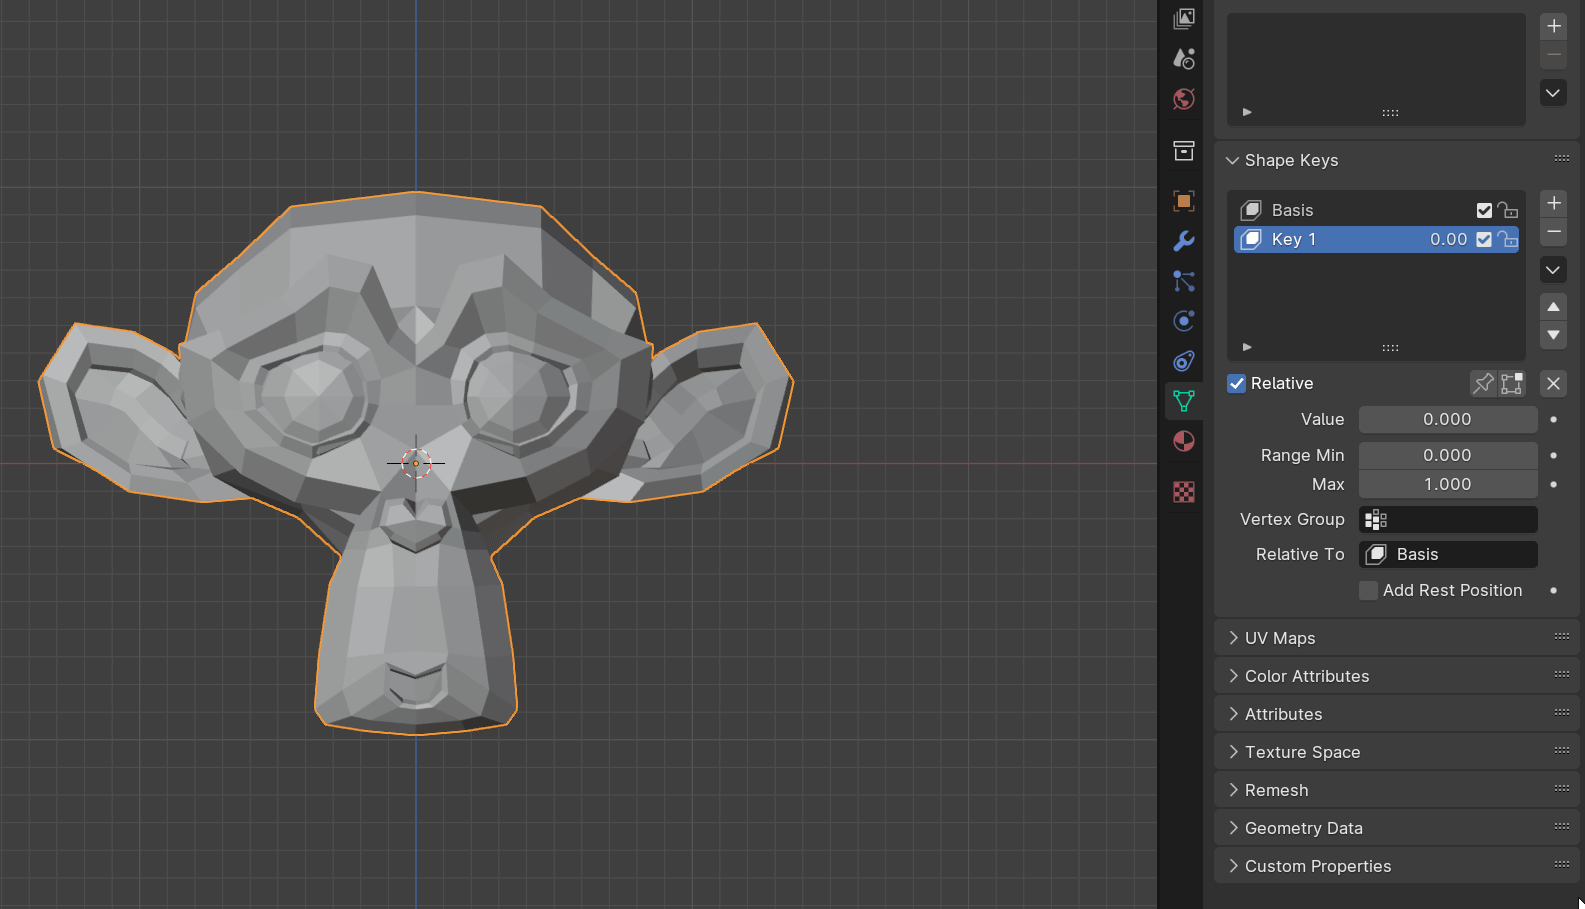
In Object mode, open the Data properties on the right side of the layout.
Add a Shape Key
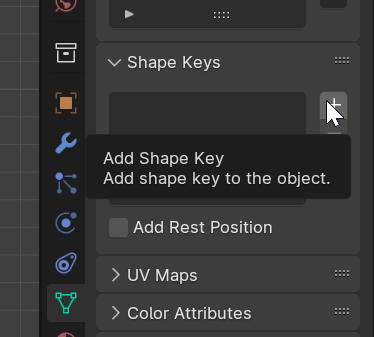
Click the plus sign at the top right of the Data properties window to create a new shape key.
A shape key is similar to a key frame because it will save a version of the model's geometry.
Add a Second Shape Key
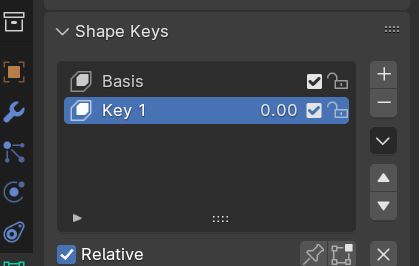
Click the plus sign again to add a second shape key. Make sure the Key 1 shape key is selected.
The Basis shape key is the default state of the model with no deformations.
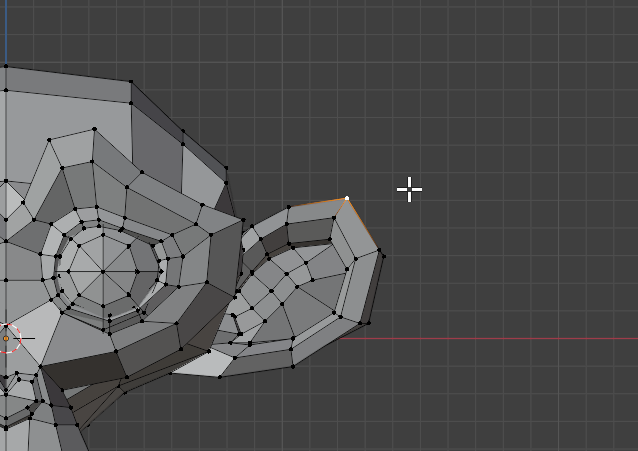
Select a Vertex
Switch to Edit mode by pressing the Tab key. Select a vertex you wish to move around.
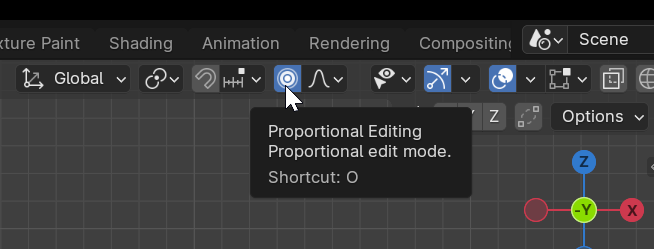
Enable Proportional Editing
Make sure Proportional Editing is enabled at the top of the layout.
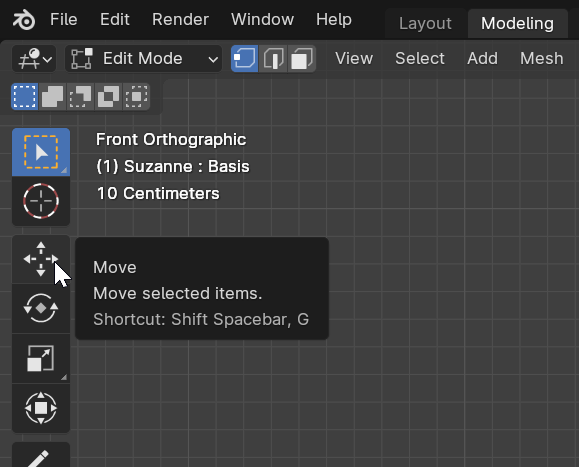
Enable the Move Option
Click the Move option at the top left of the layout.
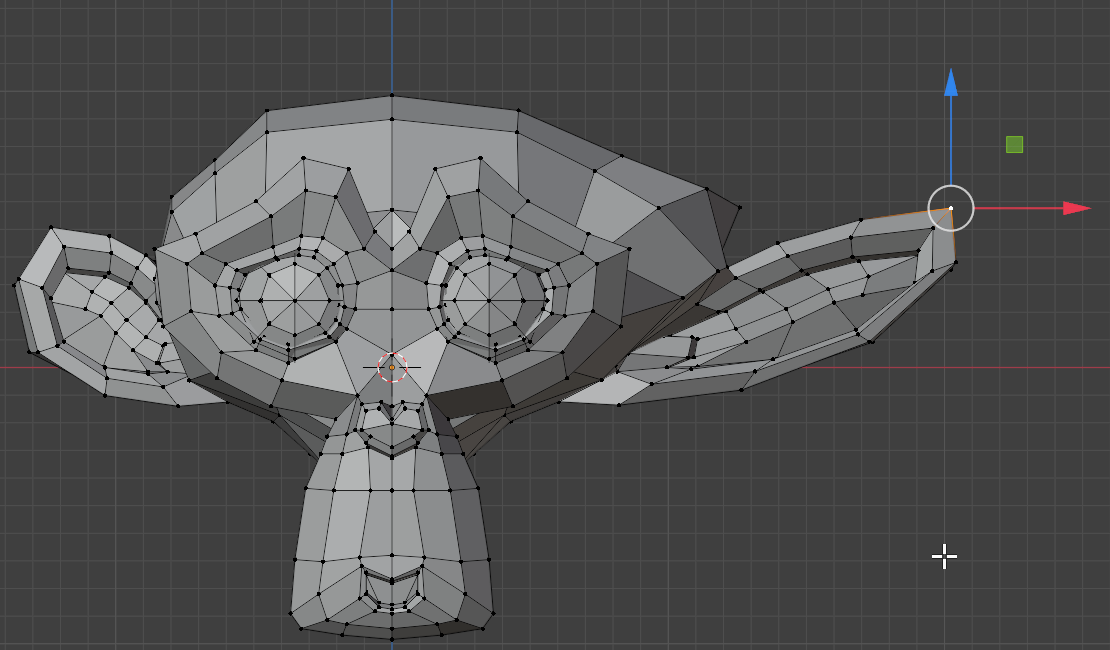
Drag the Vertex
Drag the vertex with the movement arrows until you reach a desired look.
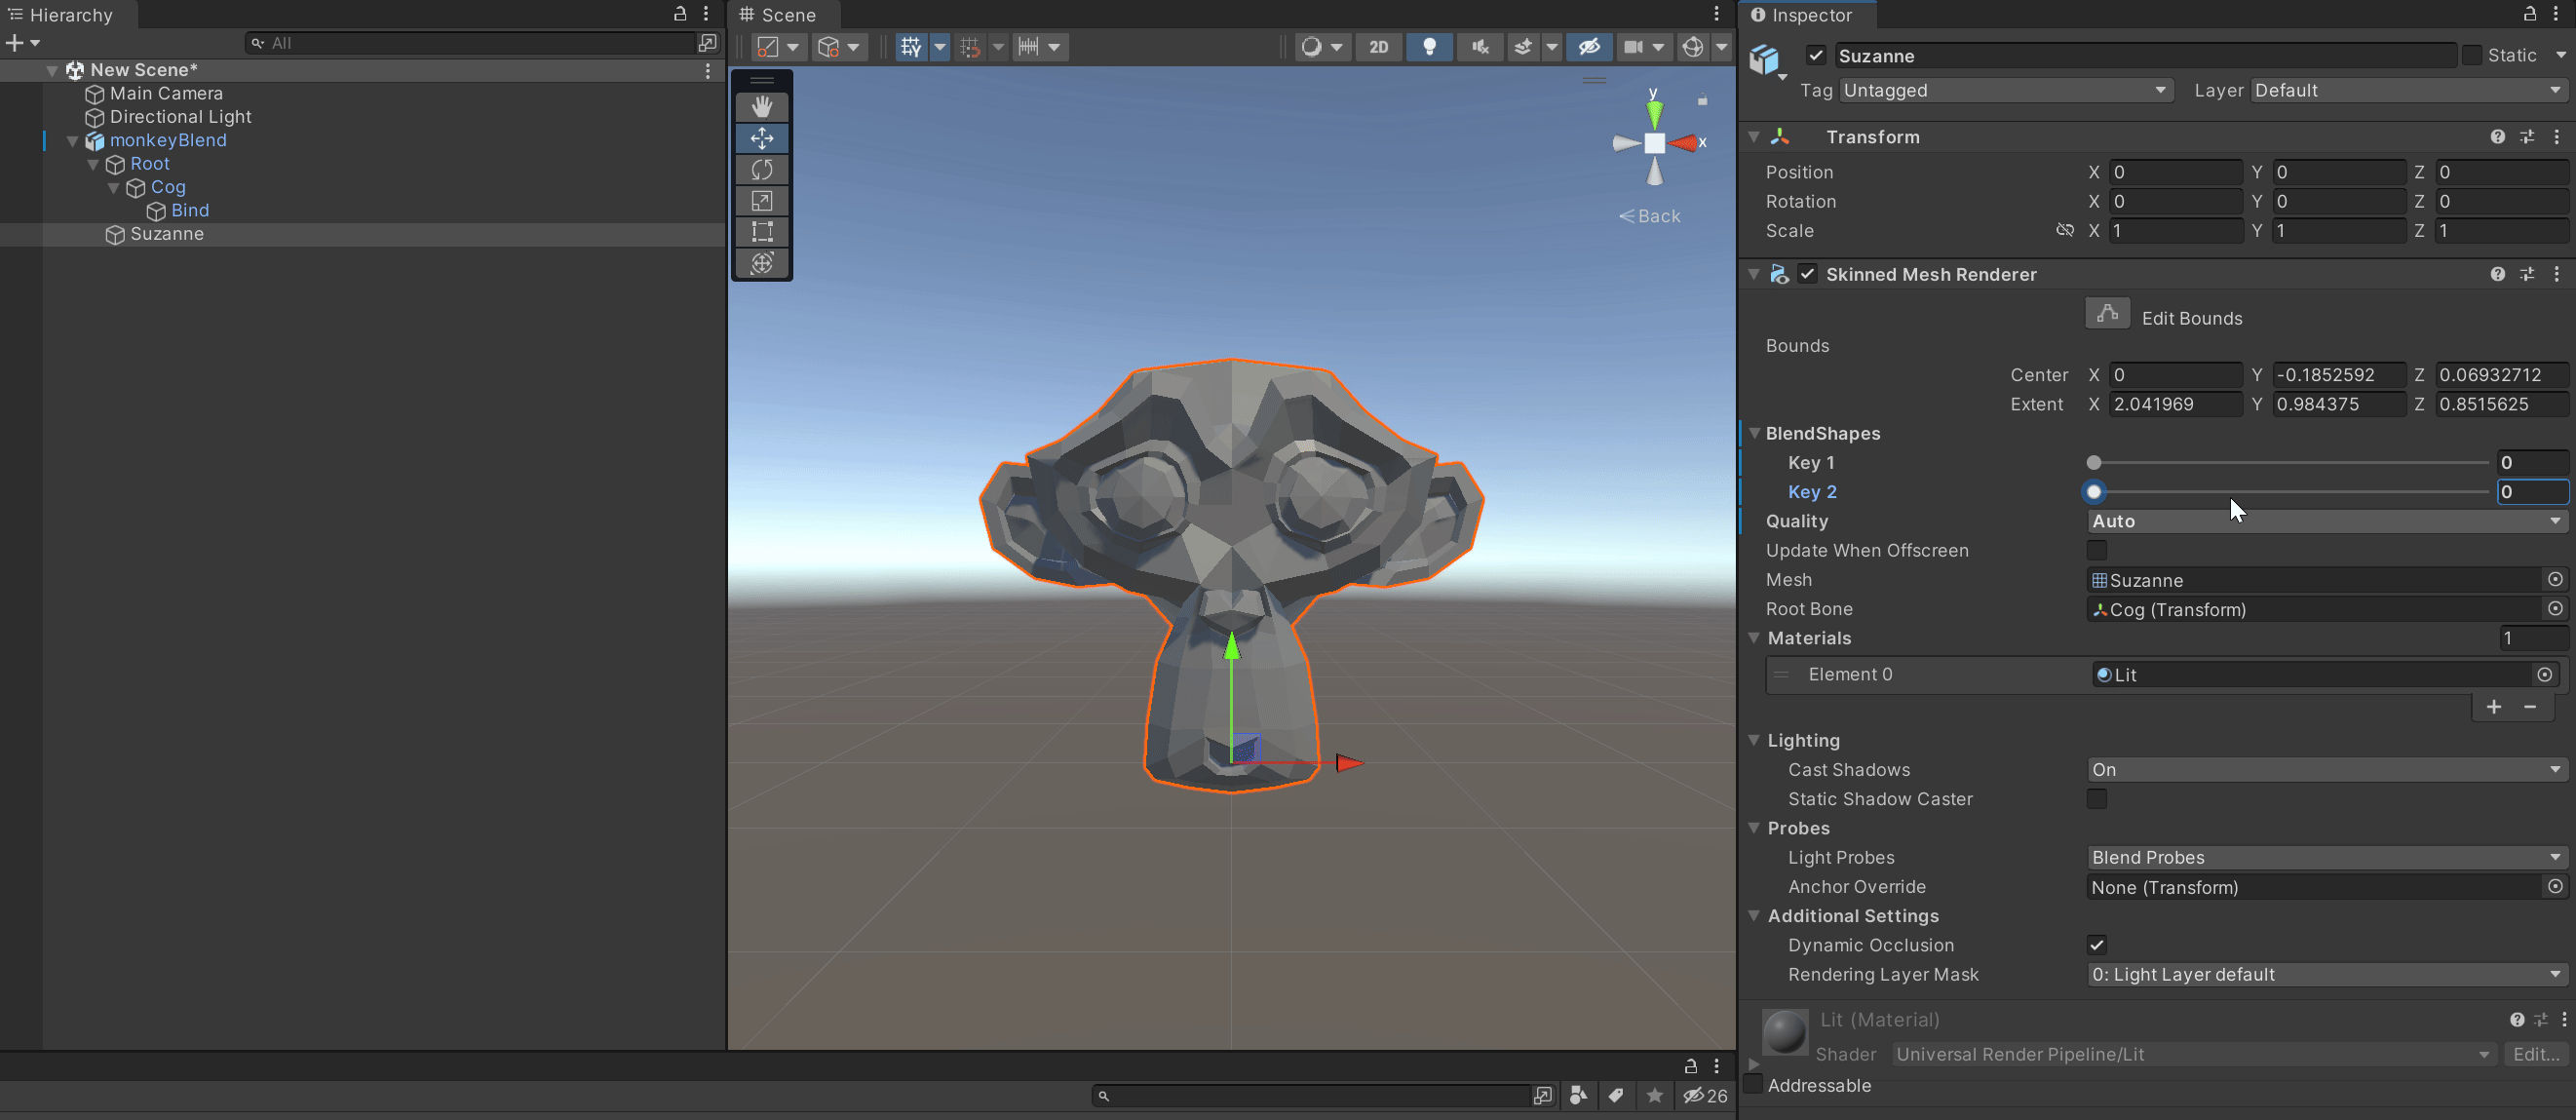
Test the Shape Key
In the Data properties window, change the Value property to see the animation in action.
Create a Mirror Shape Key
Since the monkey model is symmetrical, a shape key can be easily mirrored for the other ear.
These steps may not work for a non-symmetrical model.
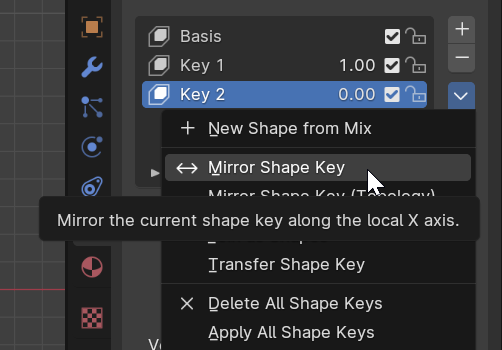
Create New Shape Key from Mix
With Key 1 still selected, click the dropdown menu in the Data properties window and select the New Shape from Mix option.

Mirror the Shape Key
With Key 2 selected, click the dropdown menu again and select the Mirror Shape Key option.
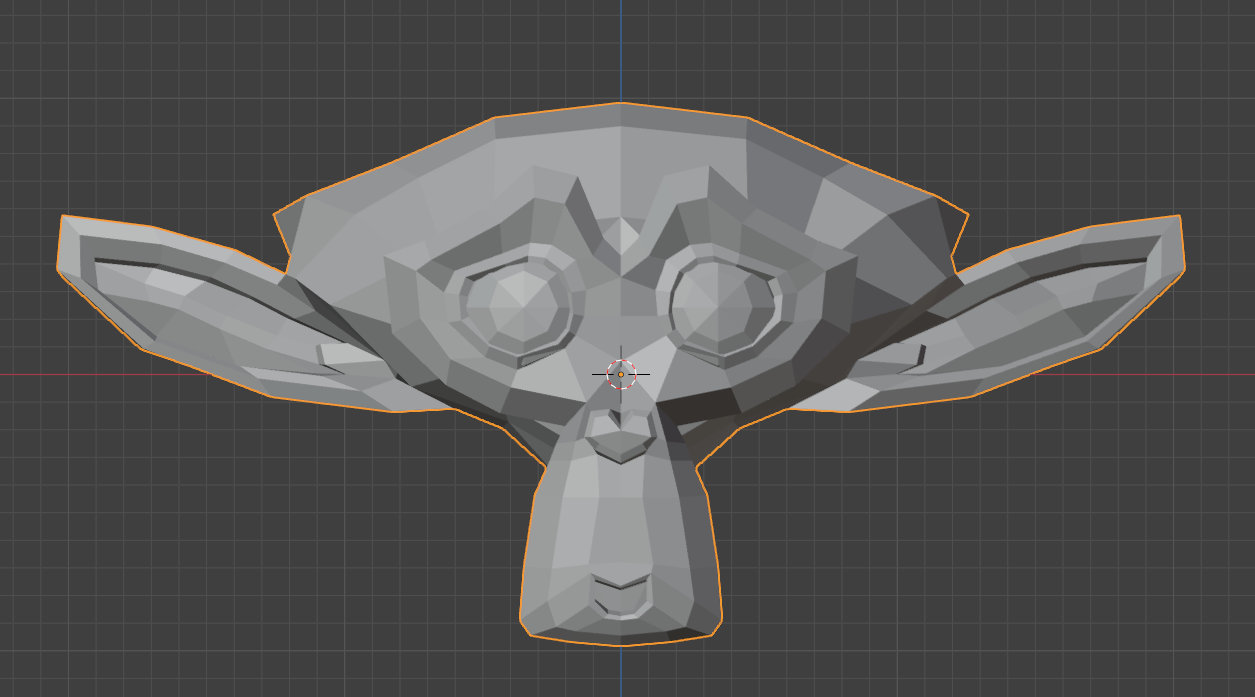
Test the Shape Keys
By setting both Value properties to 1, you should see the mirrored effect.
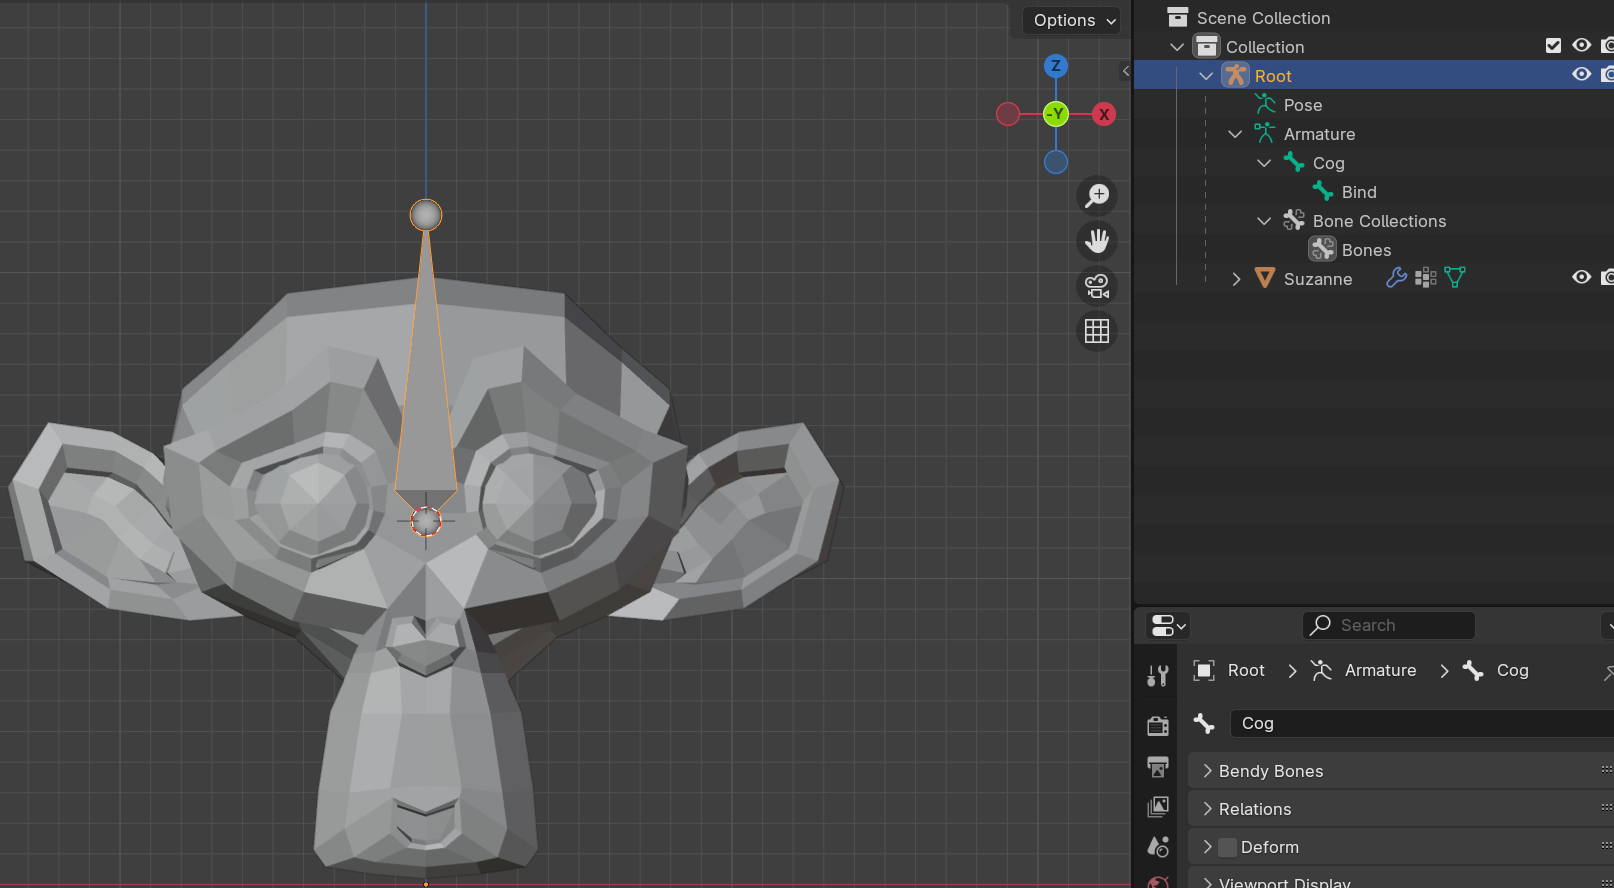
Configure the Model for Unity
The blend shapes are now ready but the model is not ready to be a Thing-max.
Configure the model with the correct armatures and skin weights. Then export it as an .fbx and import it into Unity with the proper settings.
Follow the Thing Model tutorial for step by step instructions.
Test in Unity
Once imported into Unity, drag the asset into the scene and test the shape key values inside the Inspector window.
Create a Thing-max
Create a Thing-max prefab and add the imported model as a Thing-asset. Make sure to add all the necessary references in the Inspector window.
Follow the Thing-max tutorial for step by step instructions.
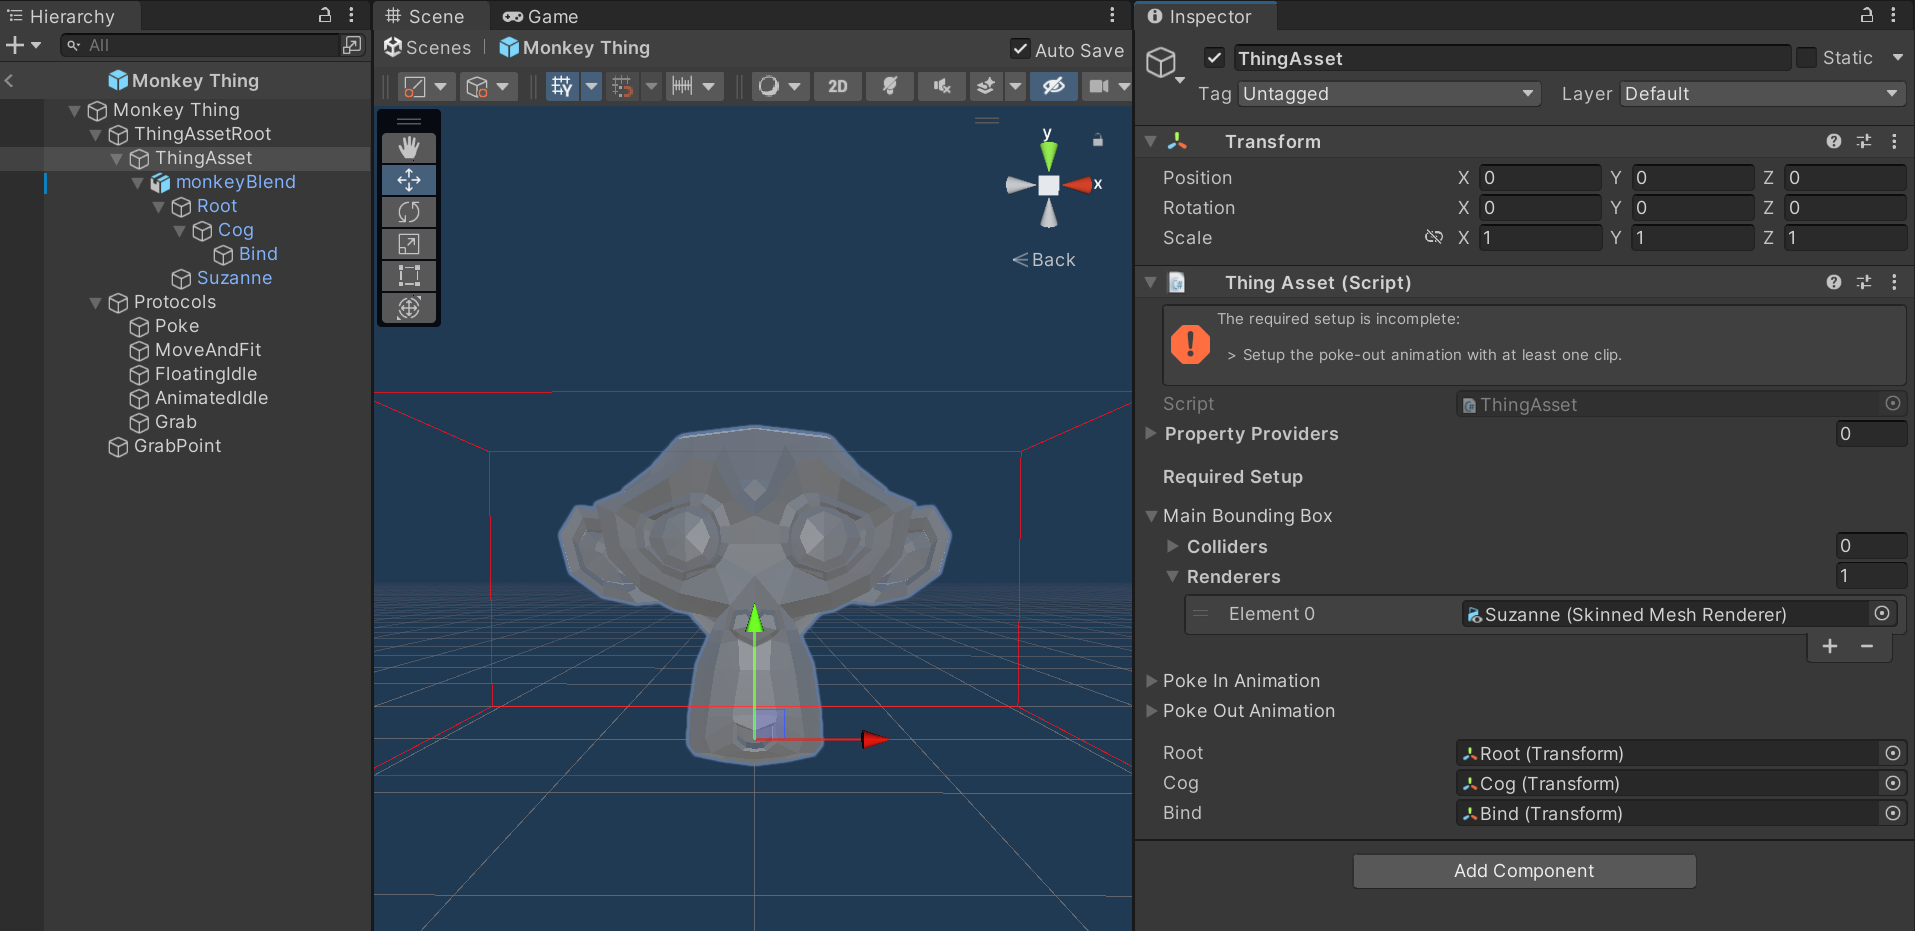
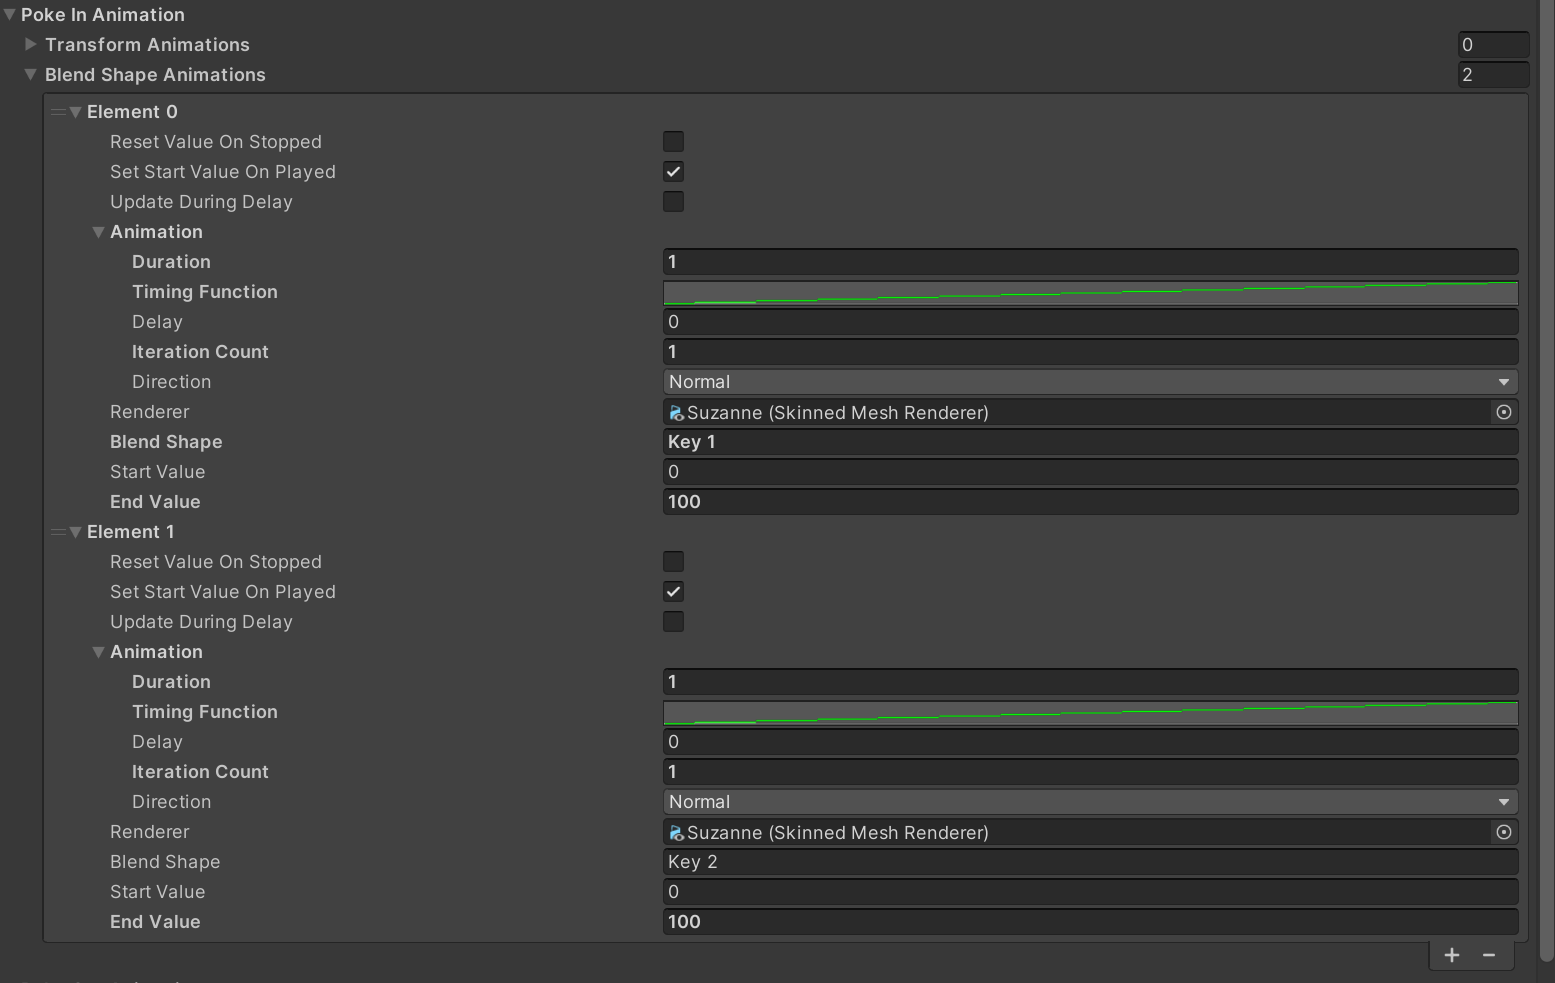
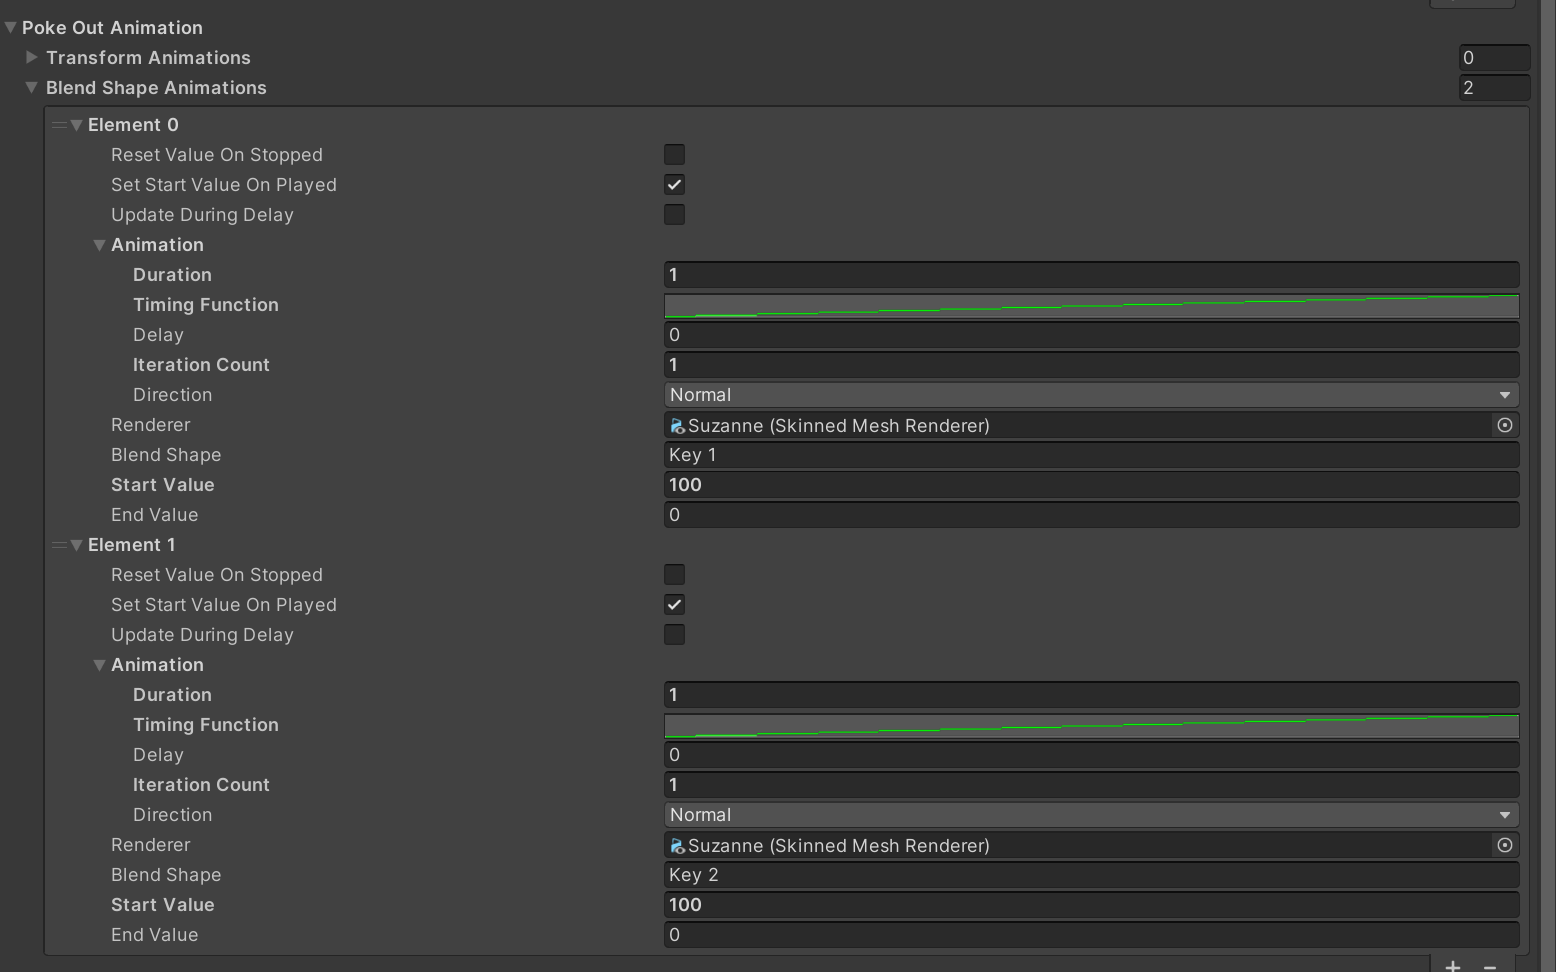
Add the Blend Shape Animations
The default animations for the Poke protocol are transform animations so we need to remove those and replace with blend shape animations.
Select the ThingAsset object and open the Inspector window. Change the Poke In and Poke Out animations so they use the blend shape animations from the imported model.
Poke In
Poke Out
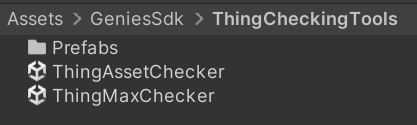
Open the Checker Scene
In the Project window, open the ThingMaxChecker scene under the Assets > GeniesSdk > ThingCheckingTools folder.
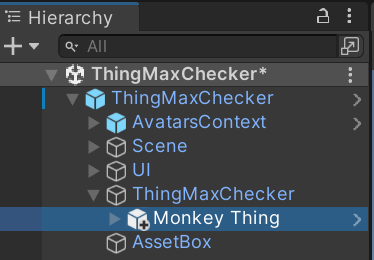
Add the Thing to the Scene
Drag and drop the Thing-max prefab into the scene as a child to the inner ThingMaxChecker object.
Test the Scene
Enter Play mode with a maximized window. The Poke protocol should use the blend shape animations.
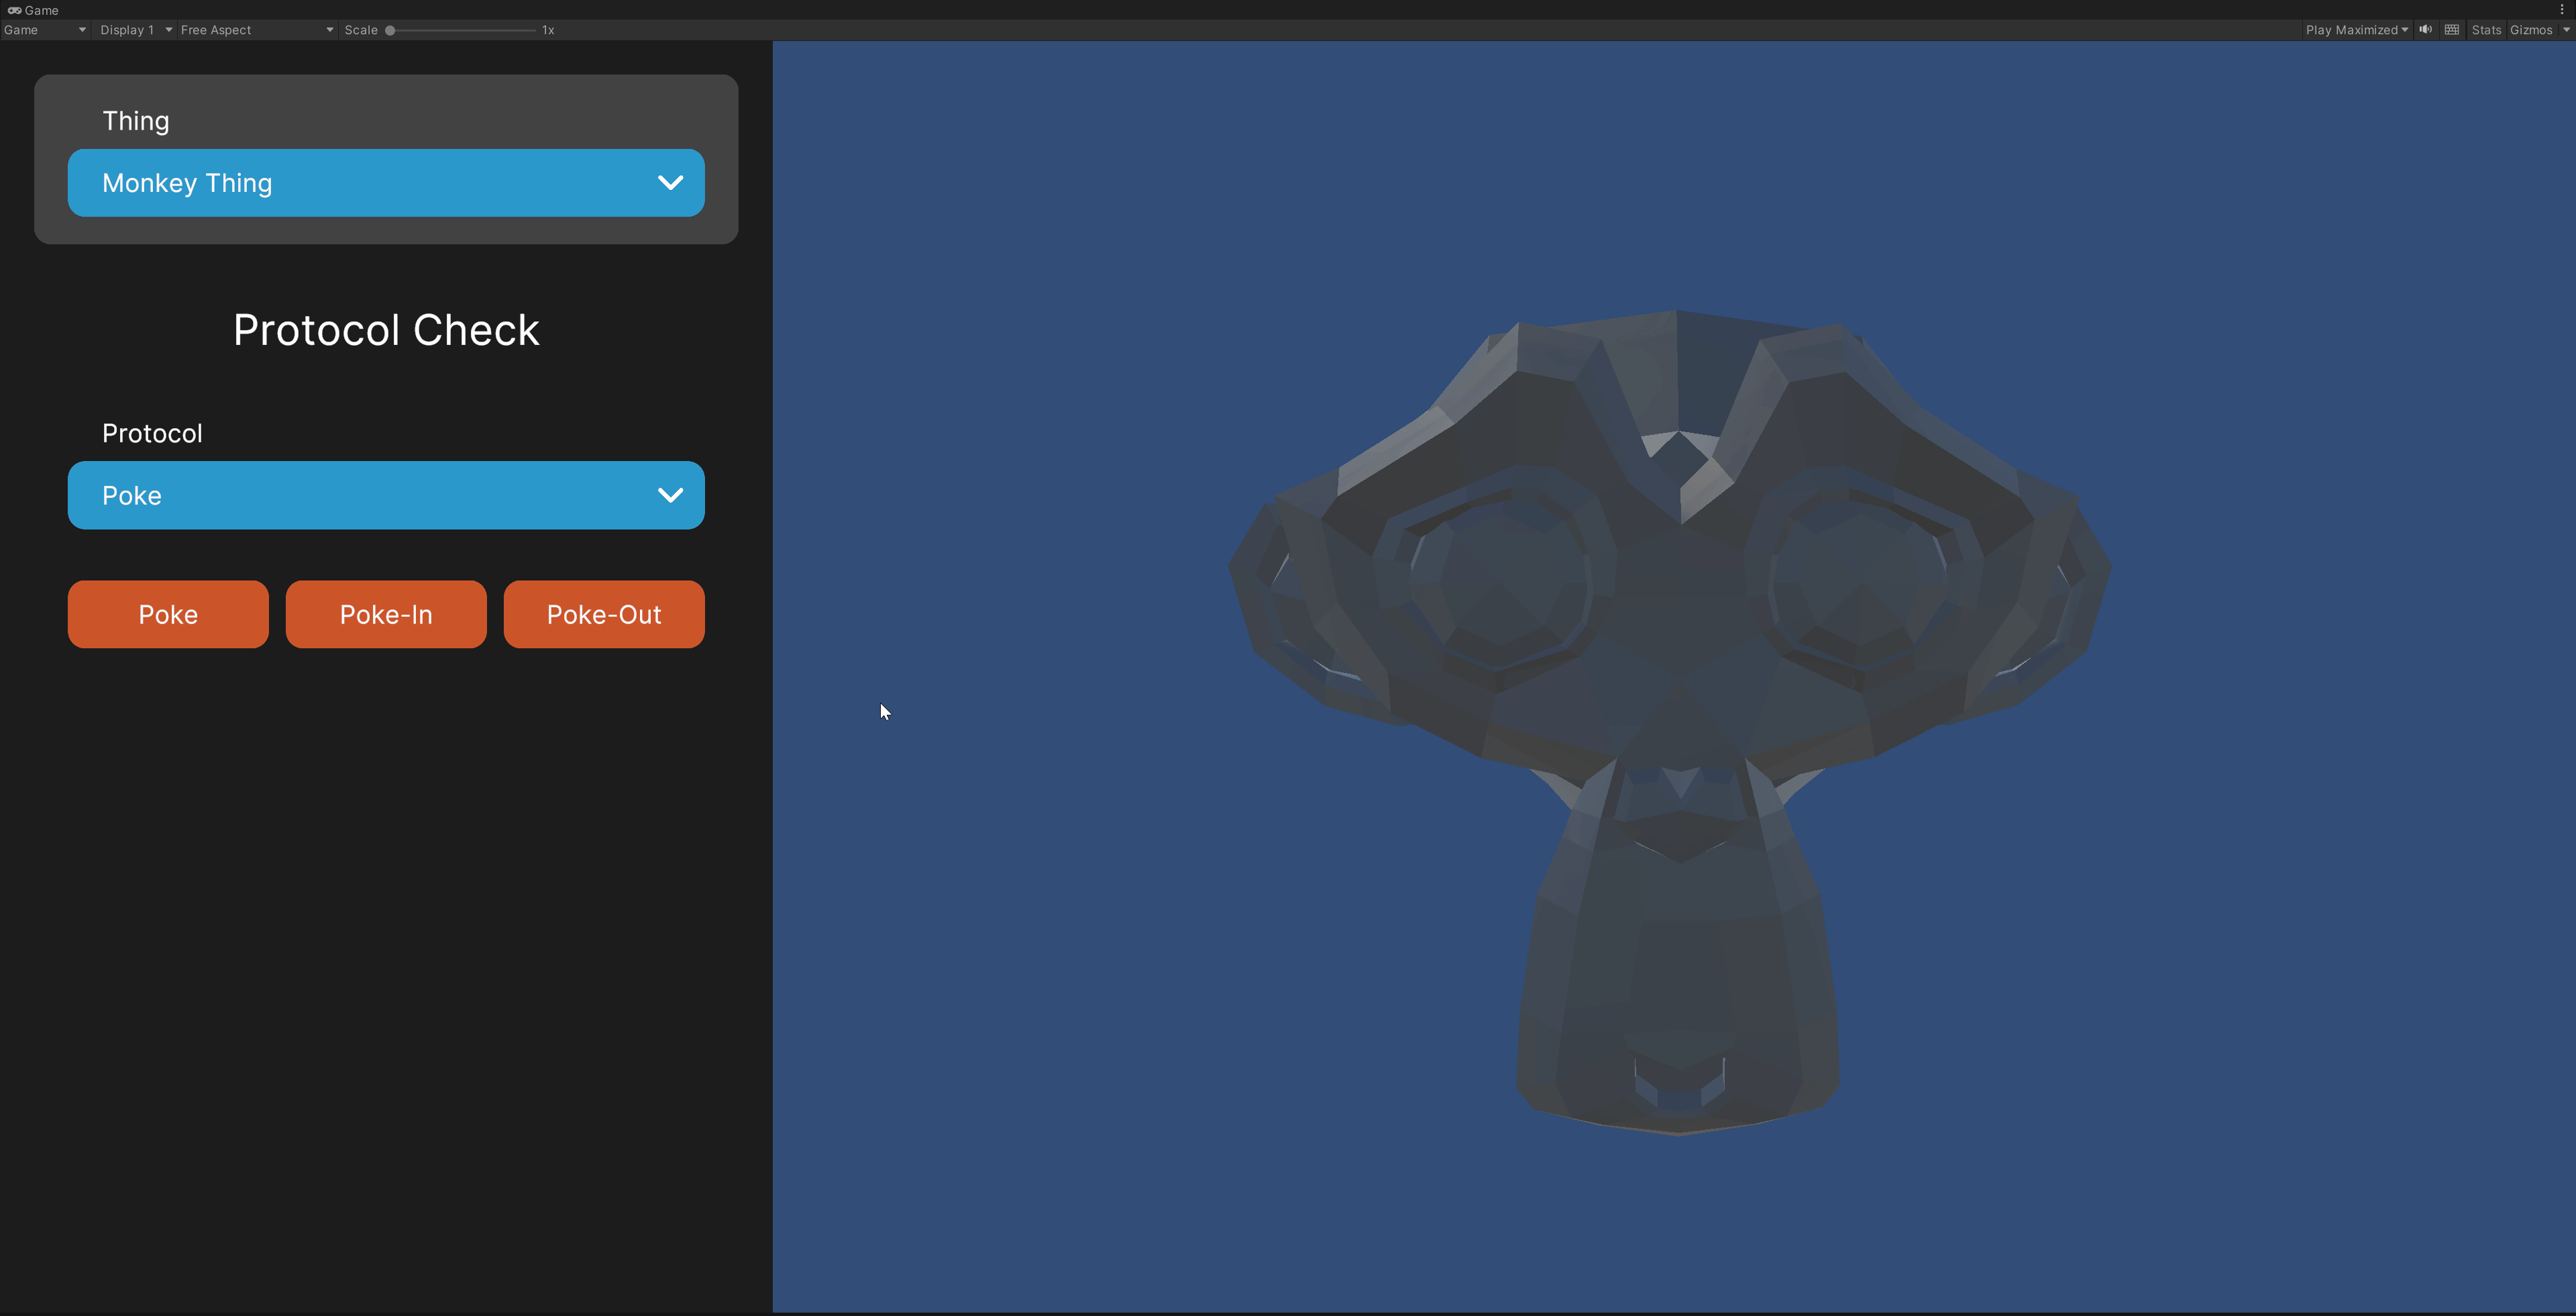
Conclusion
The blend shapes are working in a Thing-max prefab!
Check out the Submitting & Publishing Thing page for more information on how to submit the Thing-max for review.