Publish your Thing
Once your Genies Thing is ready to be submitted for review, you will need to create a build zip file of the Thing and then import it on the Genies Genies Hub.
Build the Thing
Open the Things Exporter Window
In the Project window, right click on the Thing-max prefab of your Thing. Then select Genies SDK > Things > Things Exporter.
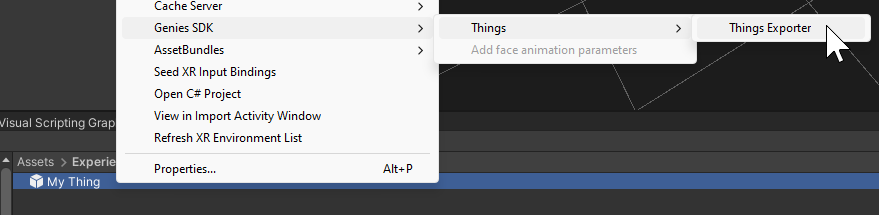
This window can also be opened from the top Unity menu Genies > SDK > Things > Things Exporter.
Fill in Thing Settings
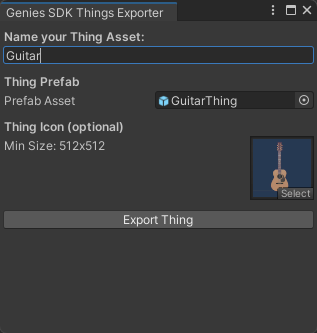
Once the Genies SDK Things Exporter window is open, add a name for your Thing and make sure the correct Thing prefab is selected. You can also add an optional image icon. Then press the Export Thing button.
Find the Genies Thing File
In the Unity project folder, there will be a folder created named Genies_Thing_Exports. Inside that folder, you can find the {ThingName}.geniesthing file which is the zipped file needed to submit.

Upload the Thing
Sign in to Genies Developer Portal
Go the Genies Genies Hub and sign in: https://workshop.genies.com/
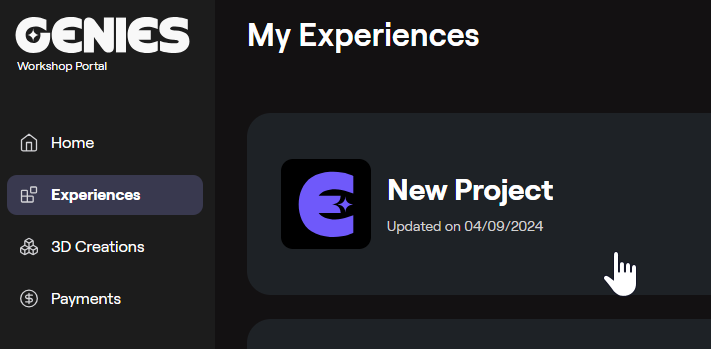
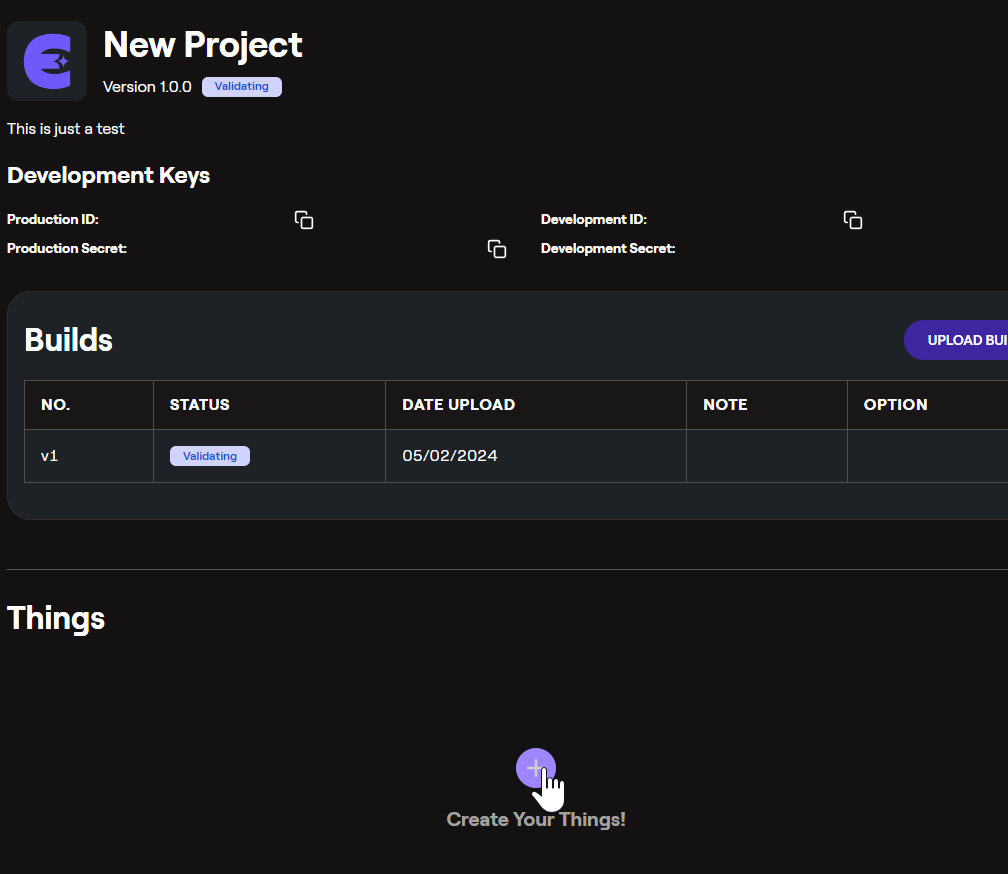
Open the Experience Page
Open the Experience page that was used to create the Thing.
Create a Thing
Once the Experience page is open, click the Create button in the Thing section.
You cannot see the Thing section until a build has been uploaded for your Experience.
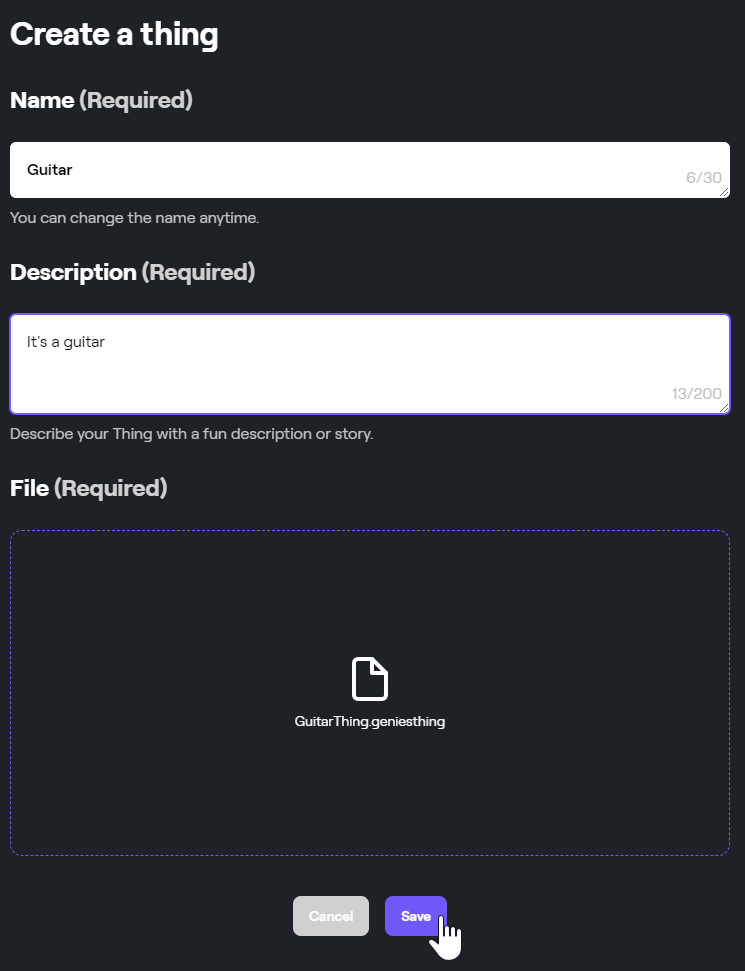
Upload the Thing
Fill in a name and description for your Thing.
From the Unity project folder, drag and drop the {ThingName}.geniesthing file or select the file from the file uploader.
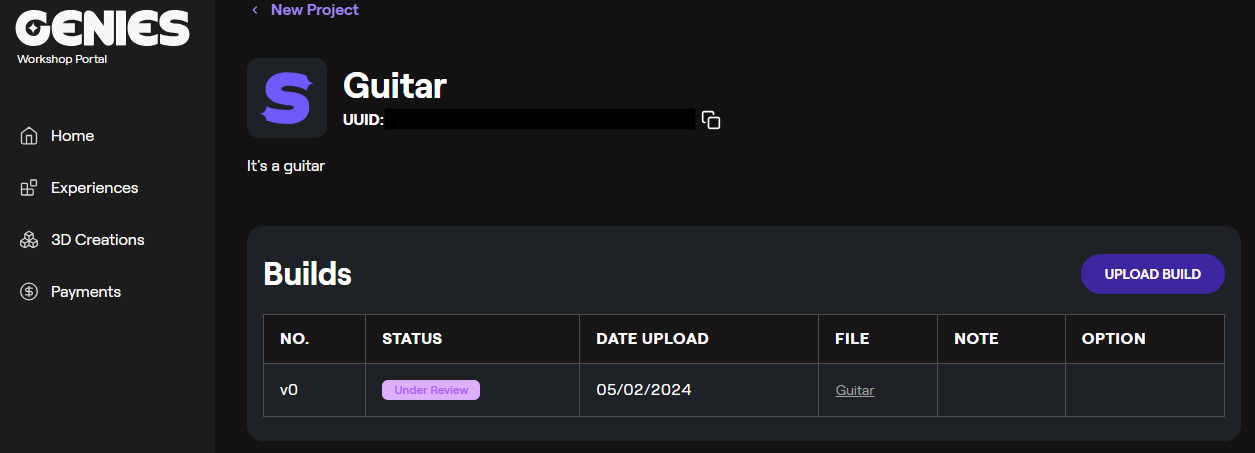
Thing Detail Screen
After uploading a Thing, the Thing detail screen should open. From here, you can upload a new version by pressing the Upload Build button. Once a build has been approved, you can also publish the Thing in this screen.